Style on a budget
Are you looking to give your home a stylish makeover without breaking the bank?
I know I am! I love to reuse and repurpose things as much as I can around my house.
During my recent office makeover, I wanted to keep the existing light fixture, but I wanted a fresh look too.
Spray paint to the rescue
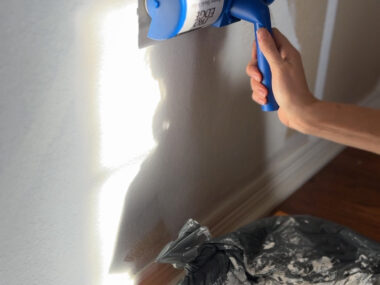
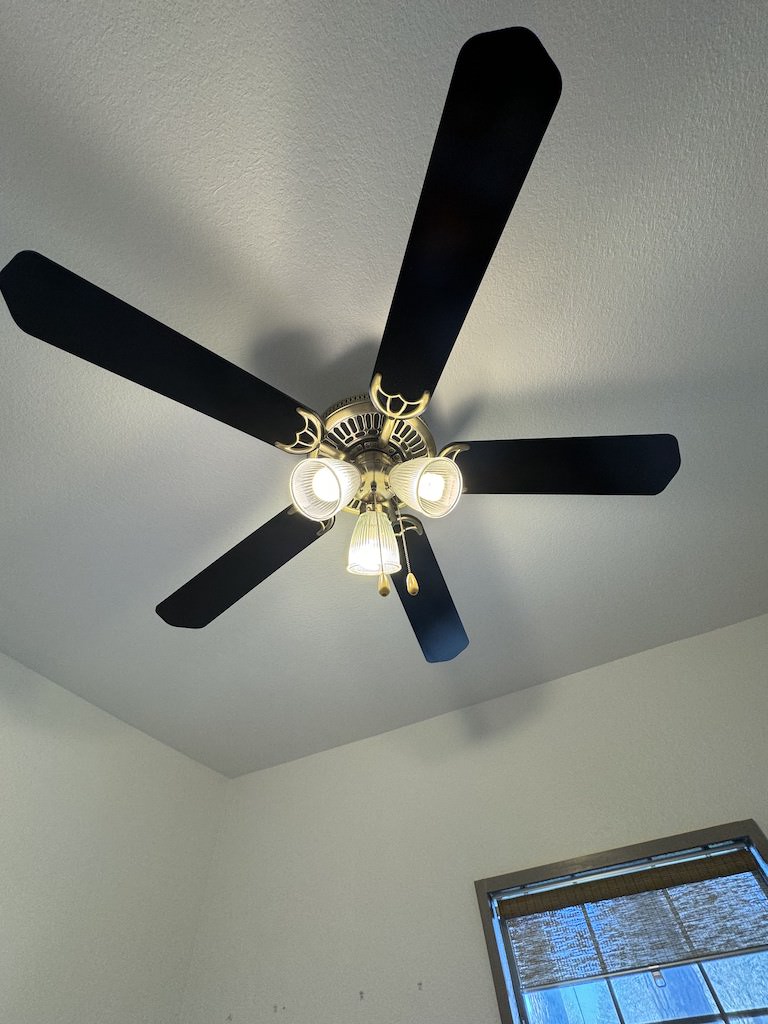
With a simple DIY project, I was able to breathe new life into my existing fixture by simply spray painting the fan blades black.

Not only does this budget-friendly DIY project add a touch of sophistication to a room, but it also offers quite a few benefits compared to purchasing a new light fixture.
Why Black Spray-Painted Fan Blades?
Black is a timeless and versatile color that effortlessly complements a variety of decor styles, from modern and minimalist to classic and industrial.
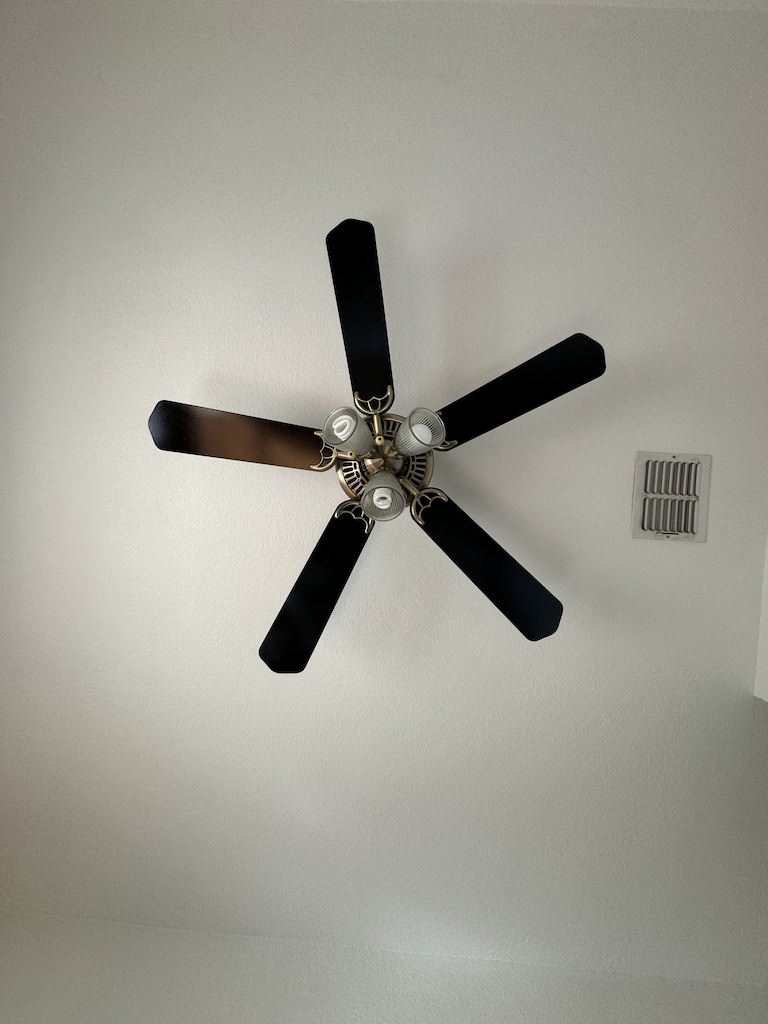
I love how the black fixture adds a bit of drama and breaks up all the white in the room.
Updated black fan blades add color and an interesting twist while keeping it simple and elegant.
Step-by-Step Instructions:
-
Preparation
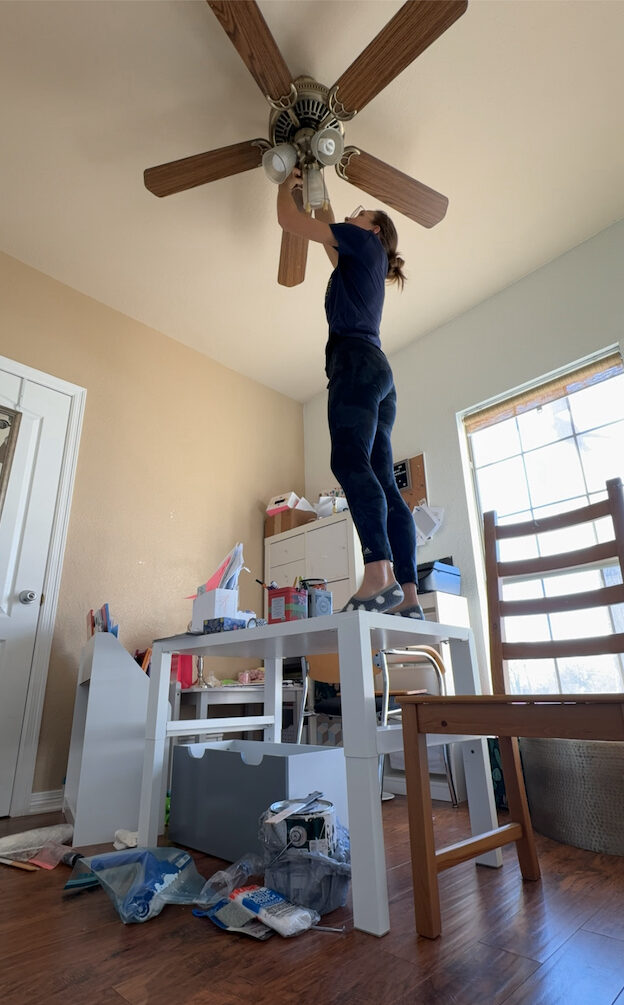
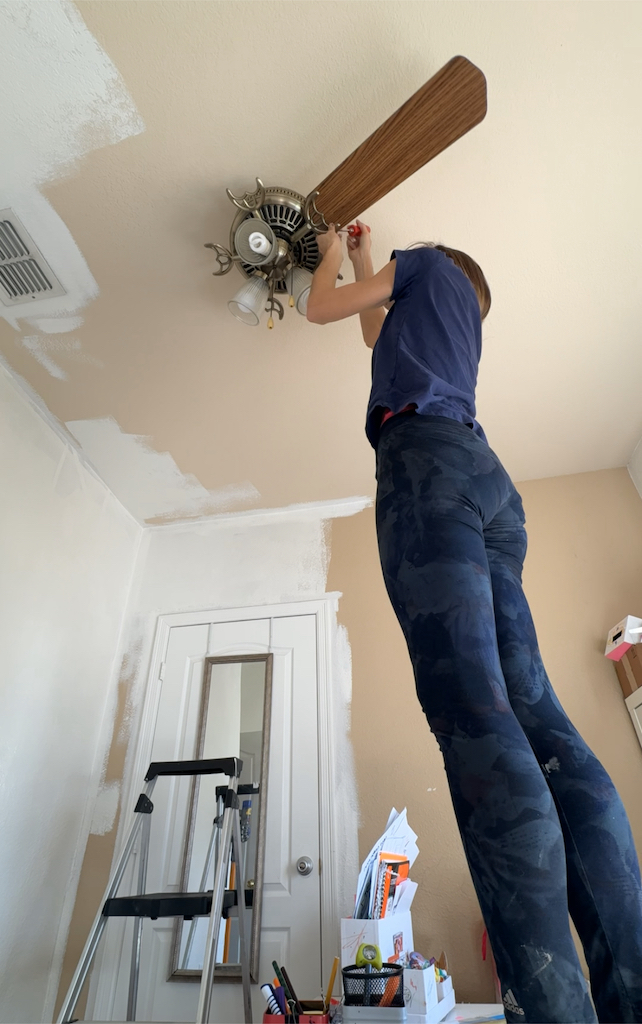
Make sure that the power is turned off. Use a phillips screwdriver to remove the fan blades.
-
Cleaning
Clean each fan blade with a damp cloth to remove dust, dirt, or grease.
Make sure that the blades are completely dry before moving onto the next step.
-
Priming
Depending on your spray paint and the material of the blades you might need to use a primer first to make sure that the paint sticks well to the blades’ surface.
-
Painting
Once the primer is dry, paint each fan blade with black spray paint.
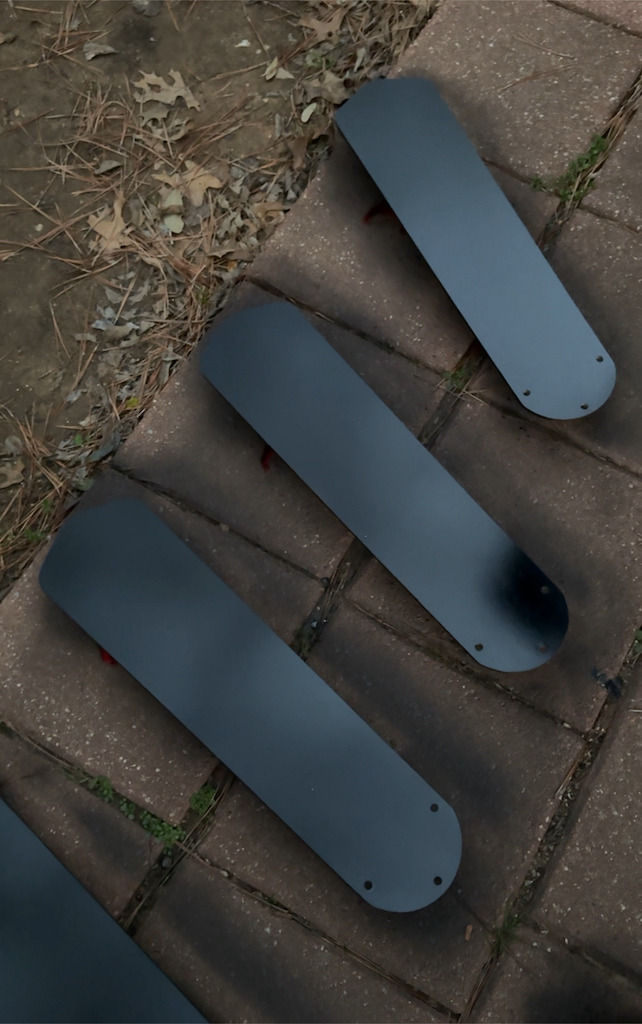
Follow the manufacturer’s directions or simply hold the spray can approximately 6-8 inches away from the surface.
Apply thin, even coats to prevent drips or streaks.
Allow the paint to dry completely between coats.
-
Reassembly
Once the paint is dry carefully reattach each fan blade using existing hardware.
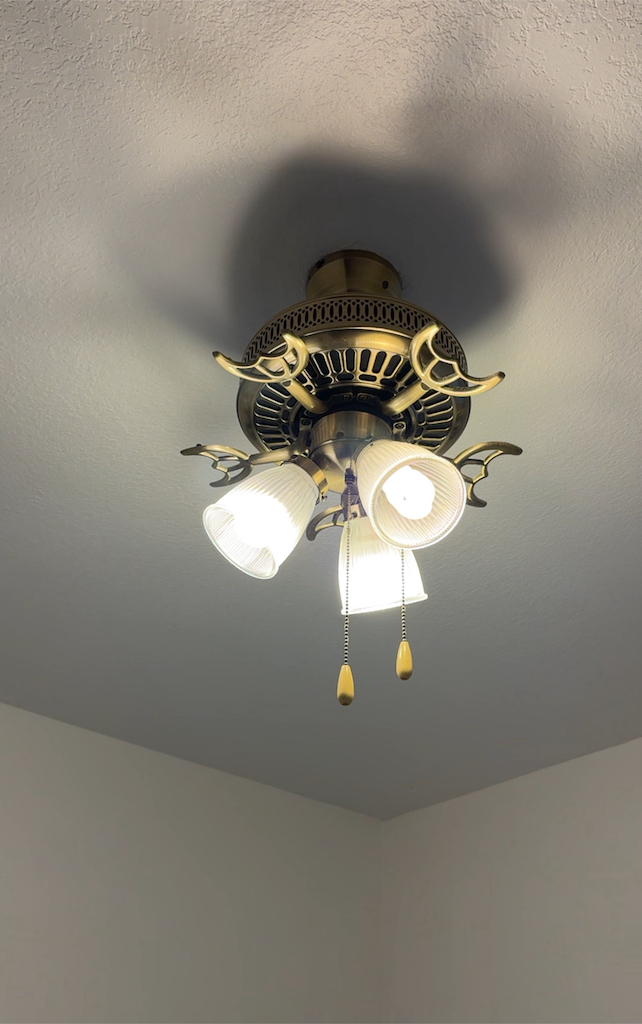
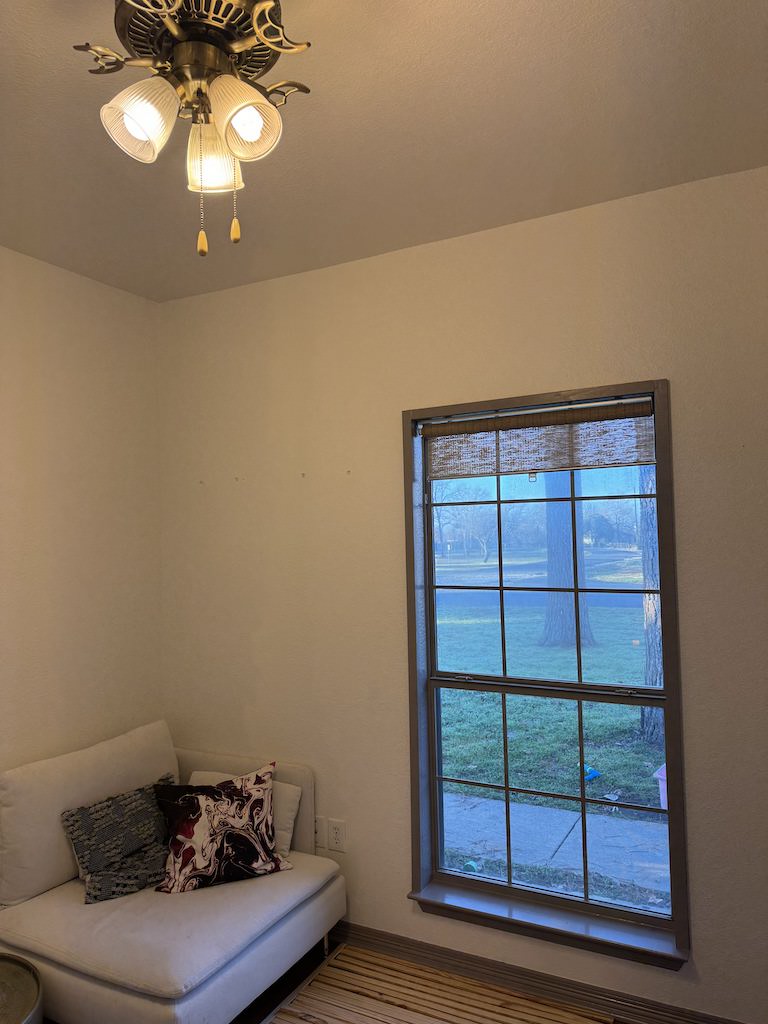
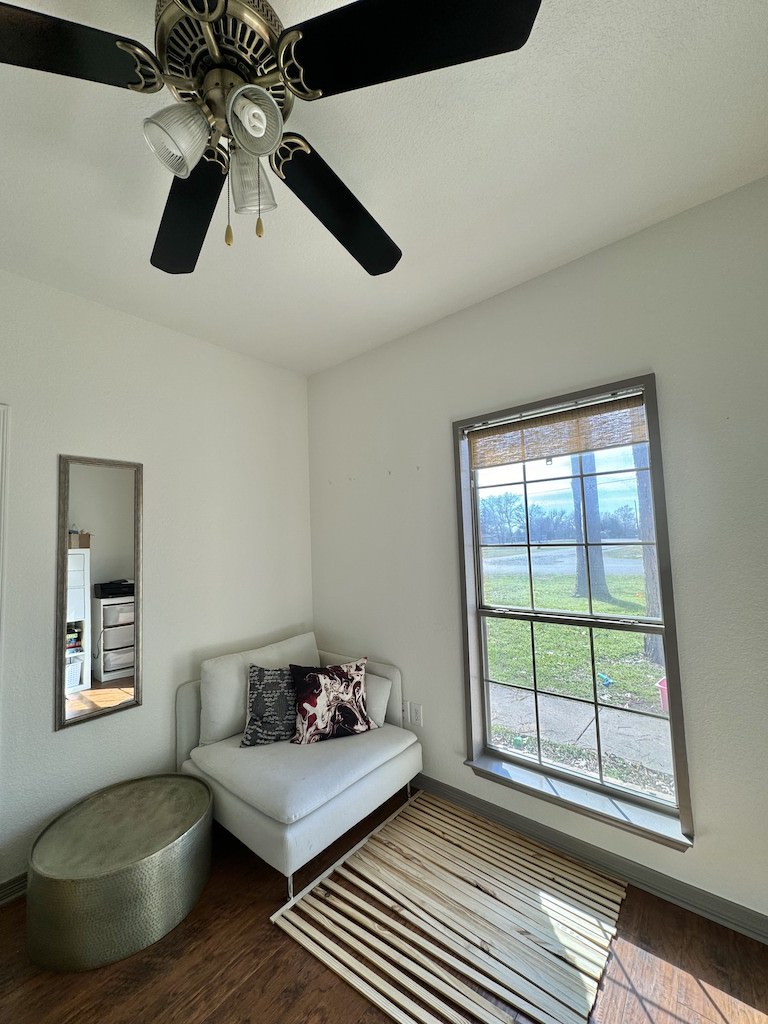
Step back and admire your beautiful updated light fixture!
Benefits of Spray-Painting Fan Blades Instead of Buying a New Fixture:
-
Cost-Effectiveness
Spray-painting your existing ceiling fan blades is a budget-friendly alternative to purchasing a new light fixture. It allows you to achieve a fresh look at a fraction of the cost, saving you money for other home improvement projects.
-
Customization
Updating your ceiling fan with spray paint gives you the freedom to customize the look of your space to suit your personal style. Whether you prefer a sleek modern aesthetic or a more traditional vibe, you can find a perfect color to compliment your decor style.

-
Sustainability
Repurposing existing fixtures through DIY projects like this one is an eco-friendly choice that reduces waste and minimizes your environmental footprint. By giving your ceiling fan a makeover instead of replacing it, you’re contributing to a more sustainable home decor approach.

-
Quick and Easy
With just a few simple steps, you can transform the look of your ceiling fan in no time. This DIY project requires minimal tools and expertise, making it a perfect starter project for a beginner DIYer.
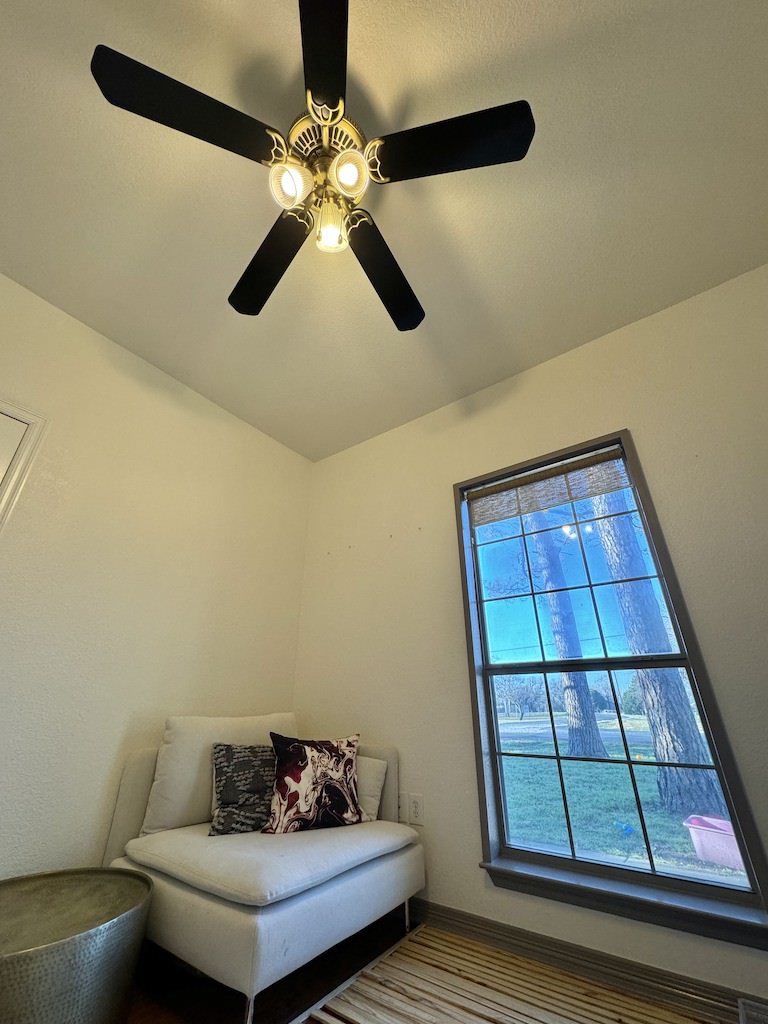
At the end of the day, I love how updating the ceiling fan with only a can of black spray paint turned out.
This DIY project is a cost-effective, customizable, and sustainable way to refresh your home decor.

I was able to save money and get an updated timeless look that elevates the space in less than a day.
I hope it inspires you and you’ll be ready to transform your space with this simple yet impactful upgrade.
Hugs,
Hanna
*This post may contain affiliate links, meaning I get a commission if you decide to make a purchase through my links, at no cost to you.
