Creating warm memories together
If you know me and my family you know how much we love spending time outdoors and how much we love camping. After a few family trips we wanted to bring a part of this experience home, so we decided to revive our fire pit area!
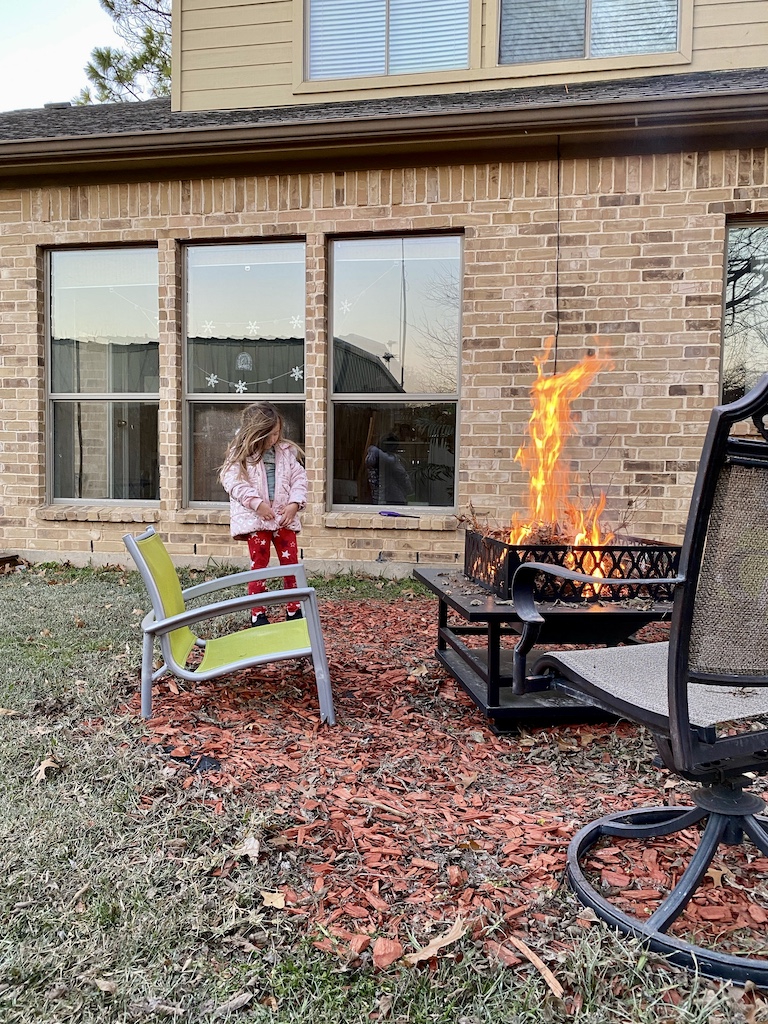
Our house came with a fire pit made out of rocks in the backyard, but after adding a bigger deck, we had to move it to the side.
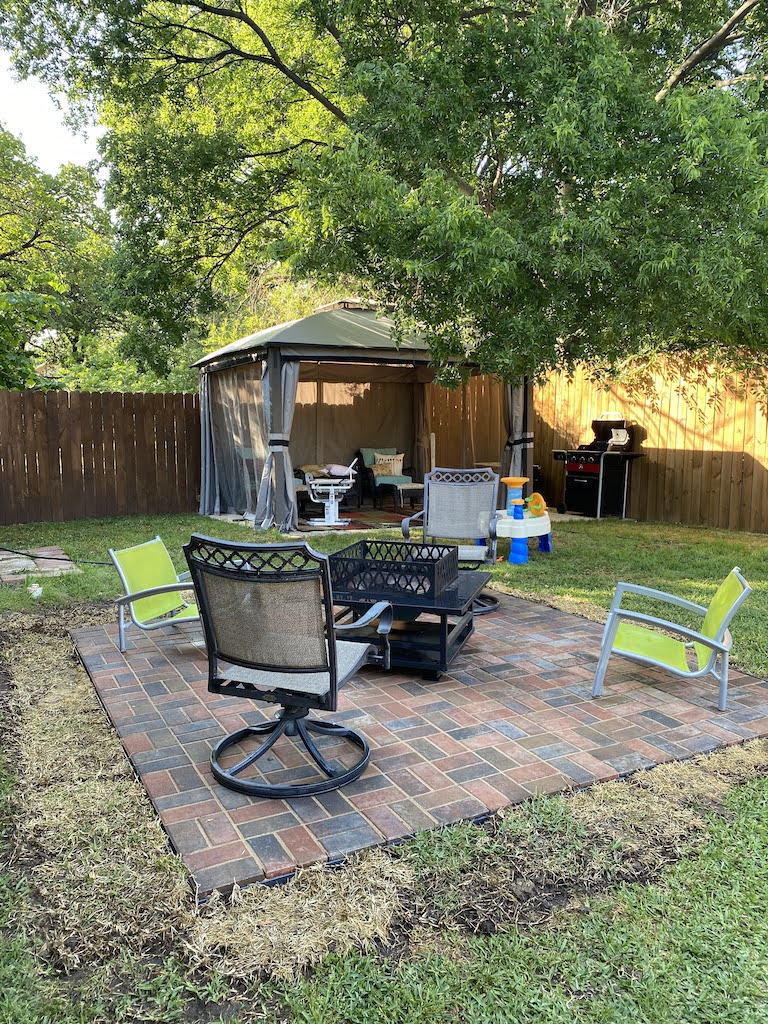
Eventually rocks started to fall apart and we bought a metal fire pit to replace it. At the time we used red mulch for that area since the grass wasn’t growing there. But mulch needed to be refilled every season and kept going all over our backyard, plus kiddos would throw it everywhere. So instead of throwing money out every season on a few bags of red madness we decided to build a paver patio!
Design the patio of your dreams
Home Depot has a wonderful selection of outdoor pavers to choose from. This time around we decided to keep things under control and on budget.
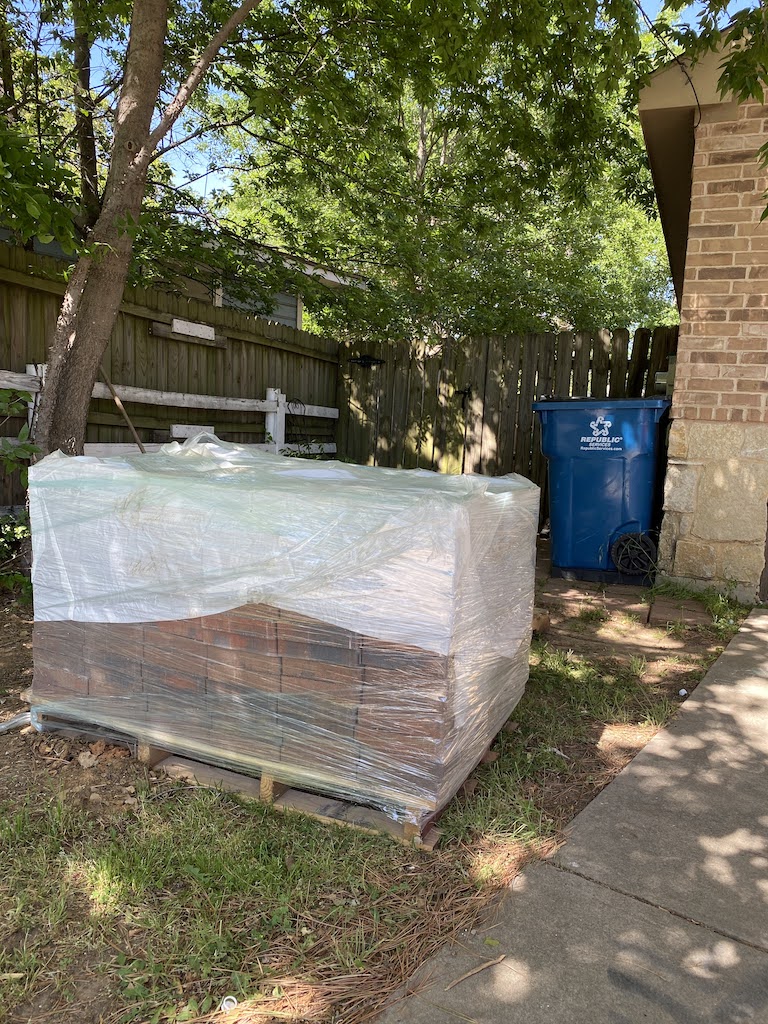
During their spring sale we picked up almost 700 concrete pavers and had these delivered for an additional fee right to our home. We also ordered paver sand and paver base to go along with it. Saving time and our backs from all the heavy lifting!
One paver at a time
Once everything was delivered it was time to get things started!
So here are all the steps of the process:
1. Level the ground
We went to Home Depot once again to rent a sod cutter(we had another project in the works, so it made sense to rent one).
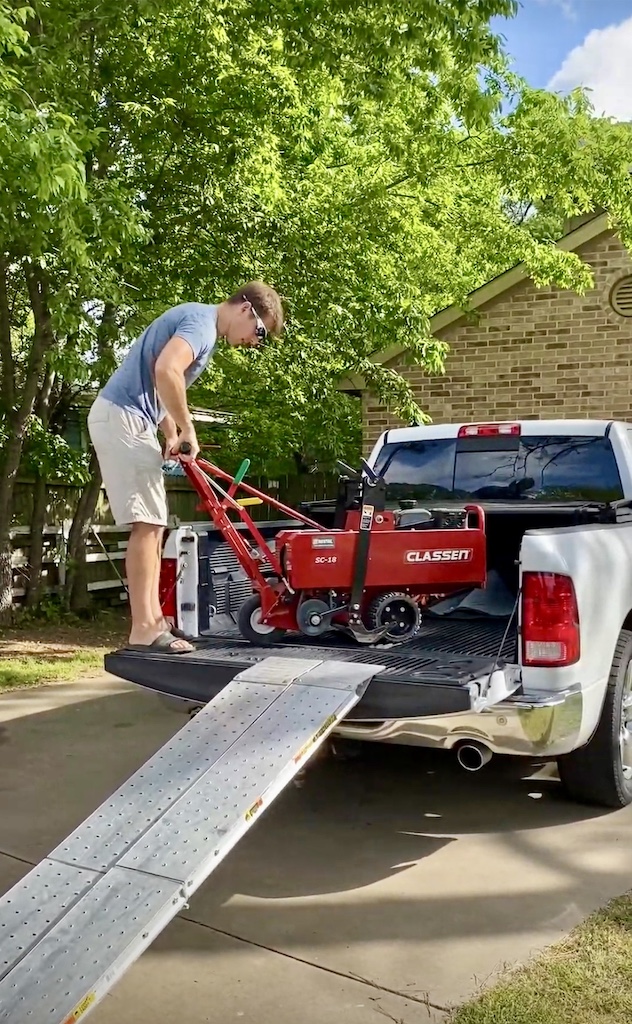
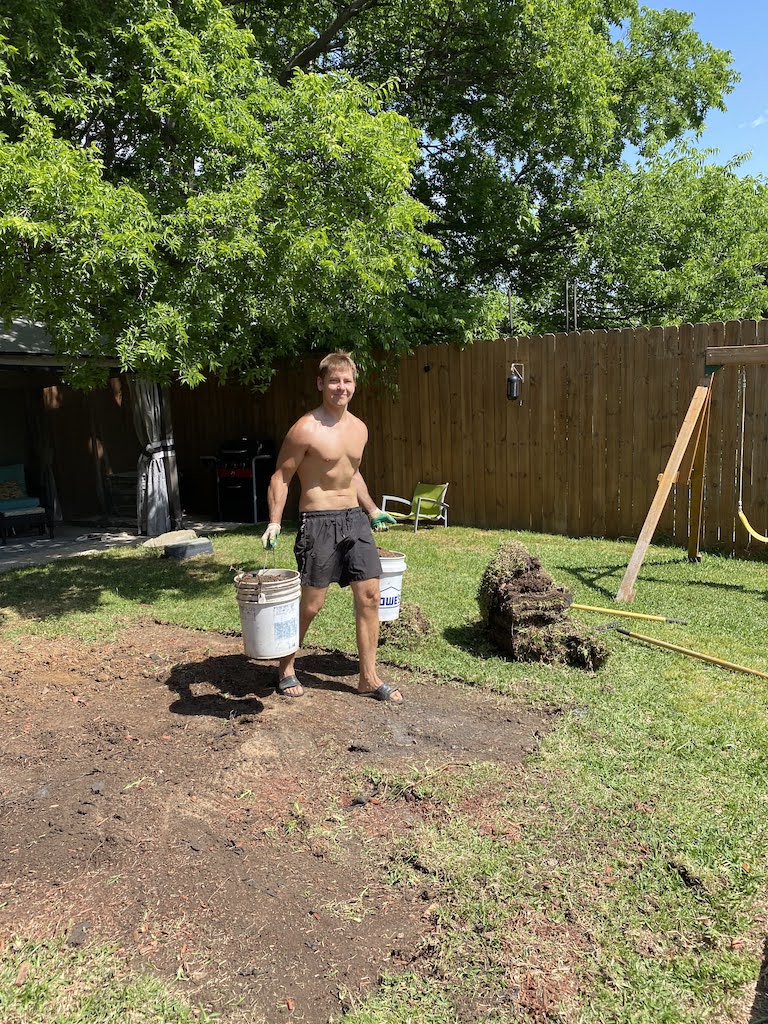
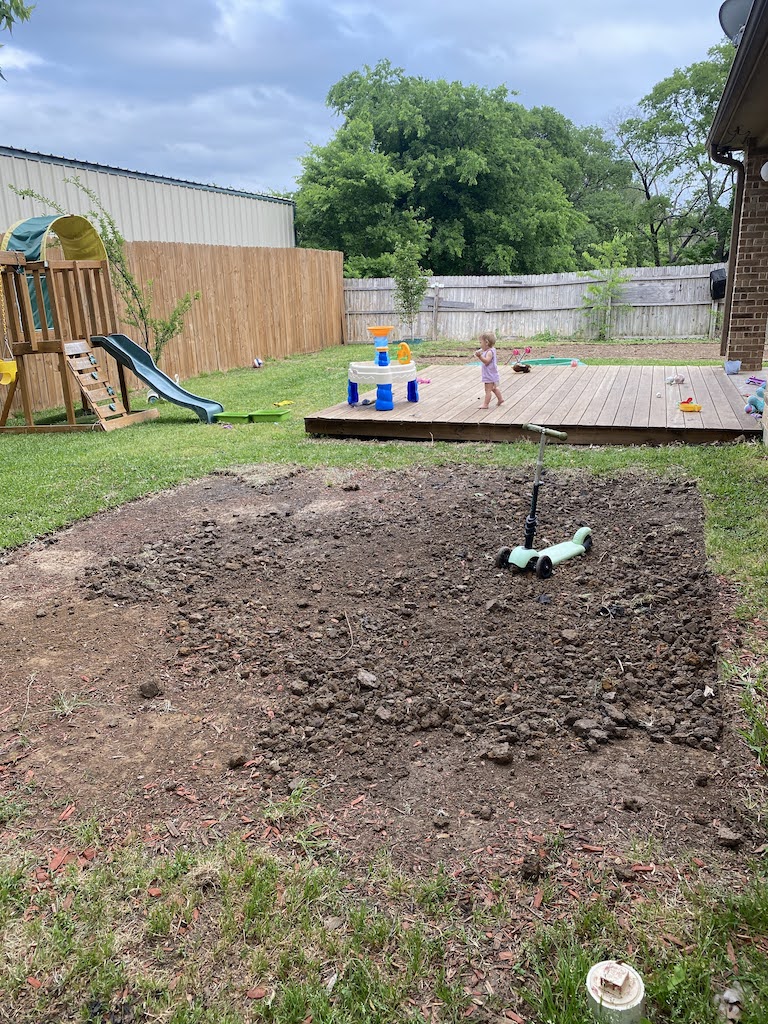
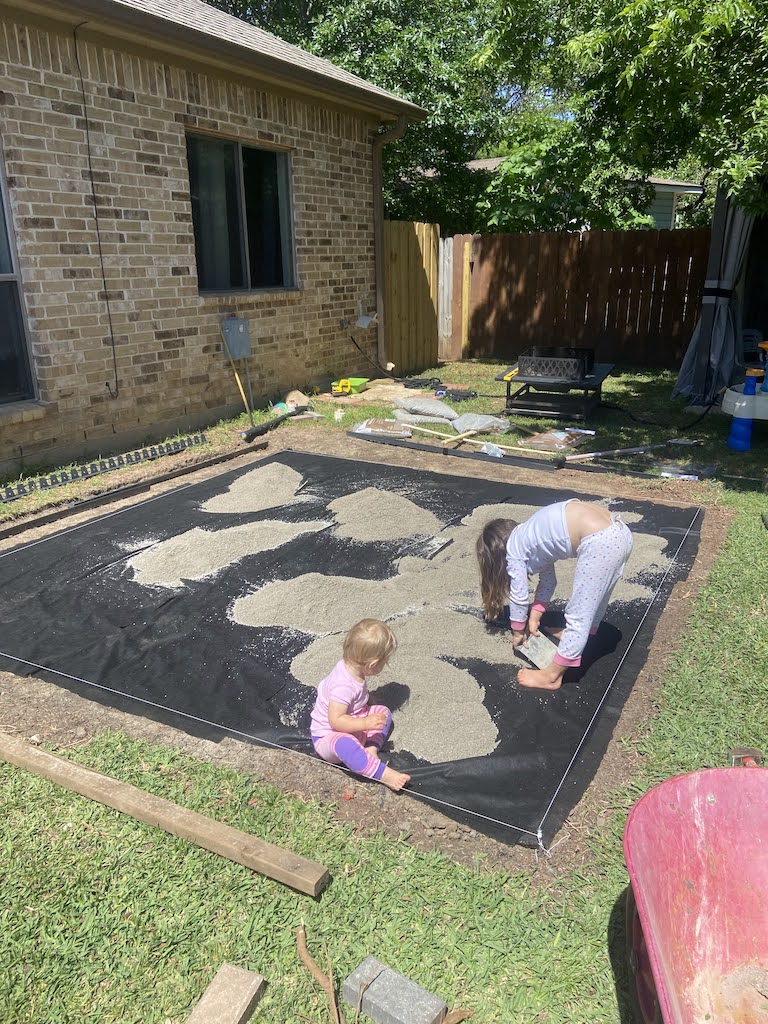
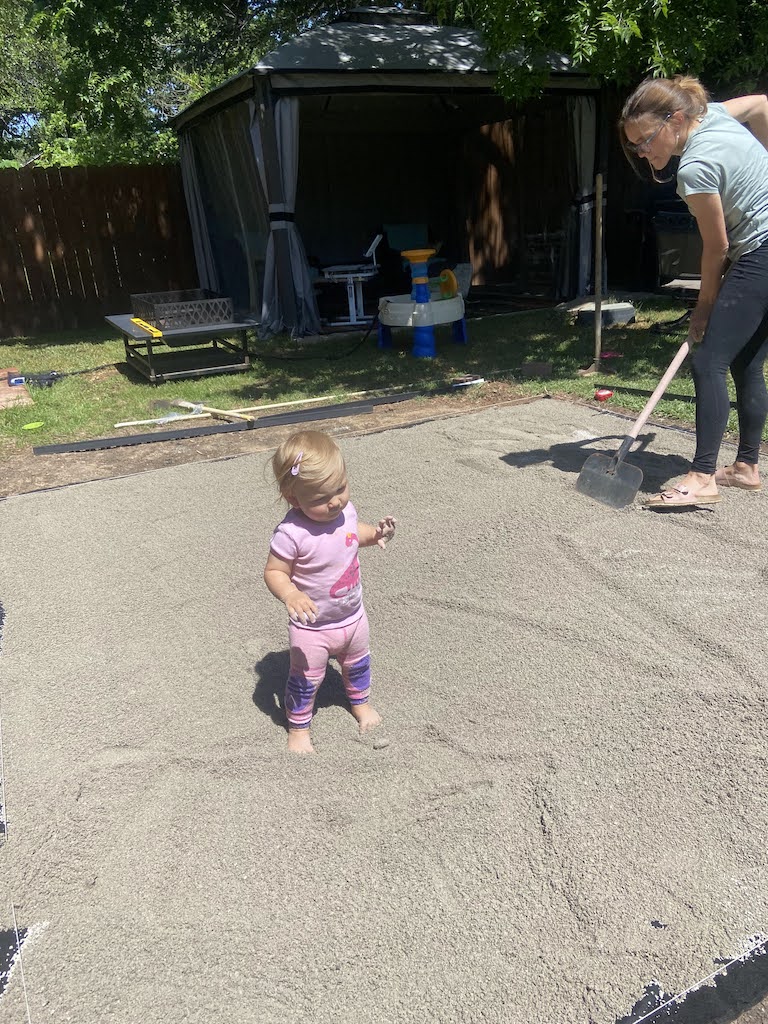
Once the thin layer of grass and sod was removed, my husband started to level the ground with the tamper. After the desired level was achieved we installed a weed barrier and began to spread paver base(gravel) to give it an extra cushion.
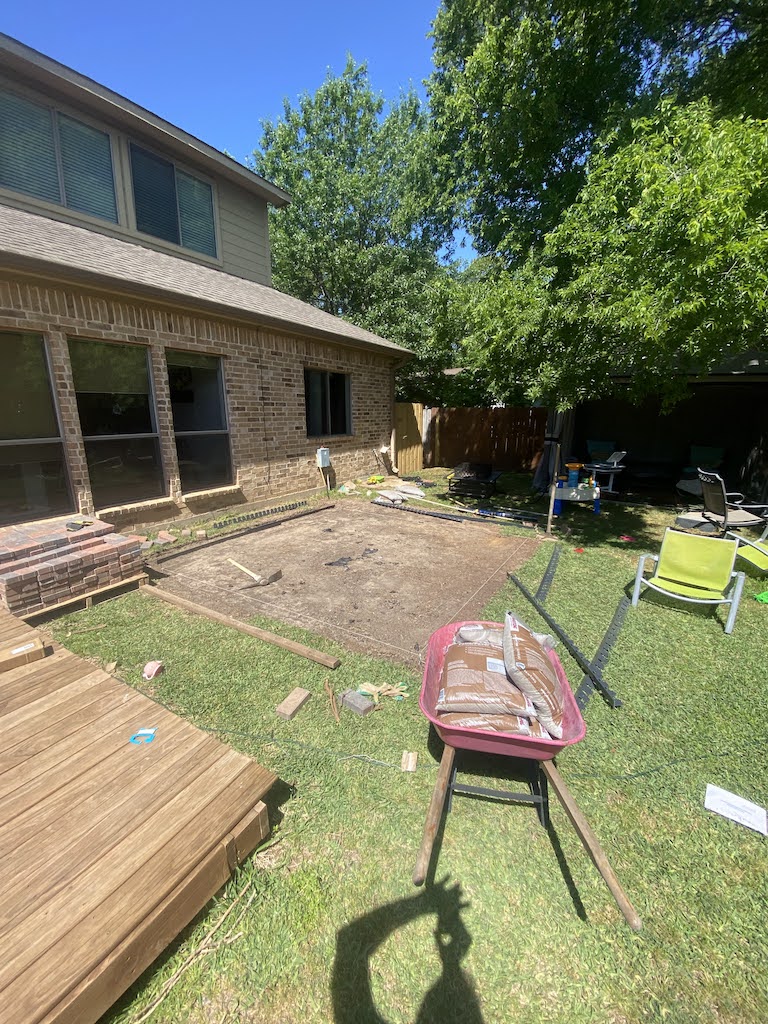
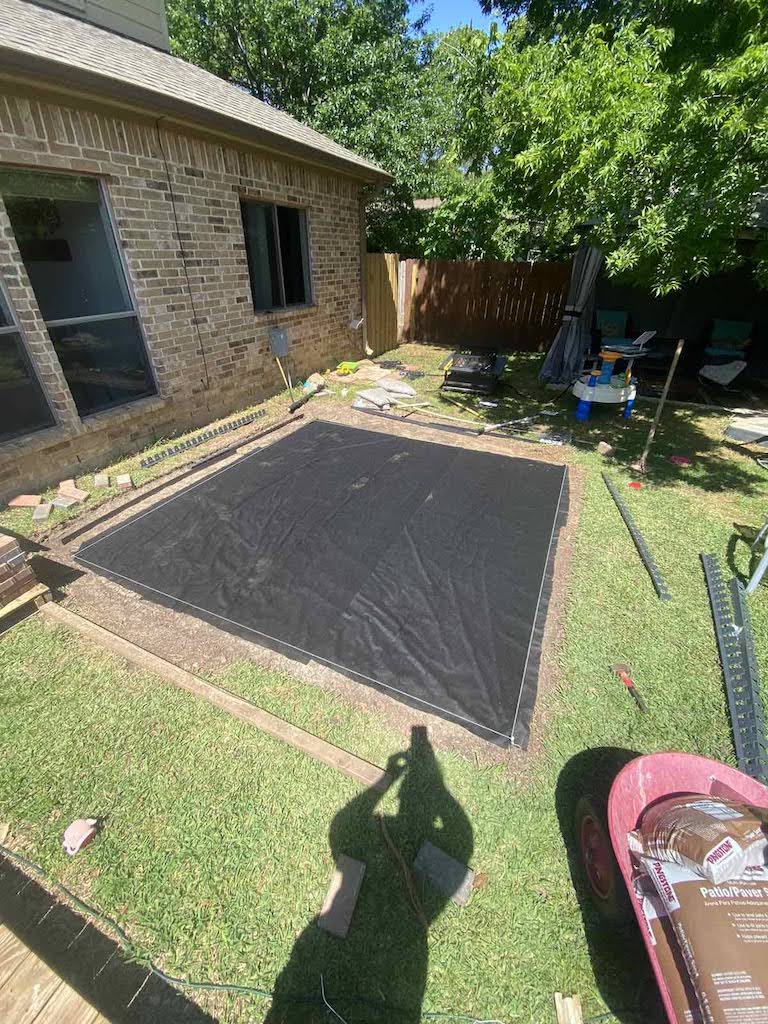
2. Paver base assembly
On top of the gravel we installed paver pads that lock one into another and create an even surface to work with without using gravel or sand.
Yes, we used some gravel to level the ground and help with drainage since we have a clay sod to work with in Texas. But if your ground is level enough you can skip the gravel and sand all together and put the pads right on your leveled surface.
3. Installing pavers
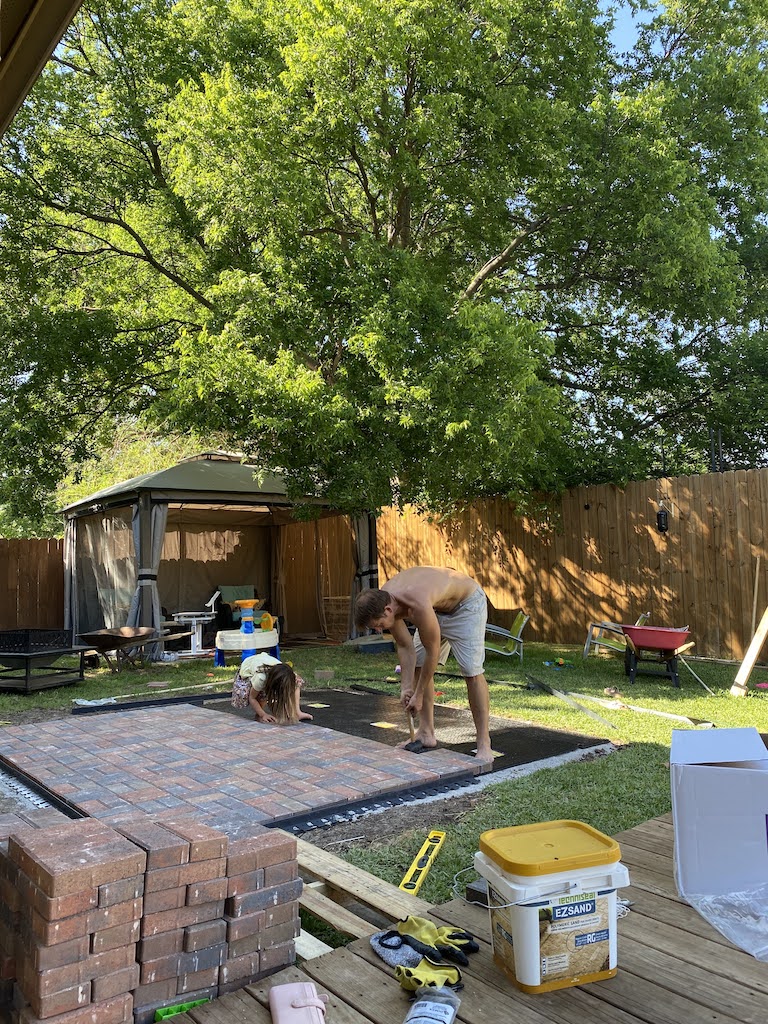
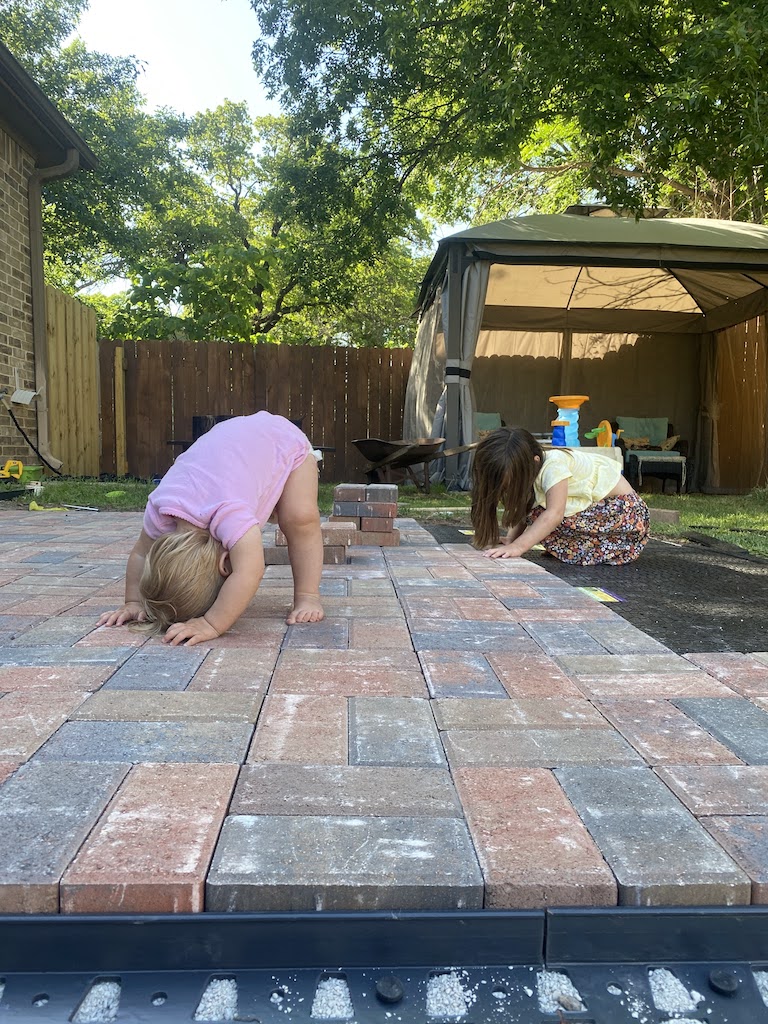
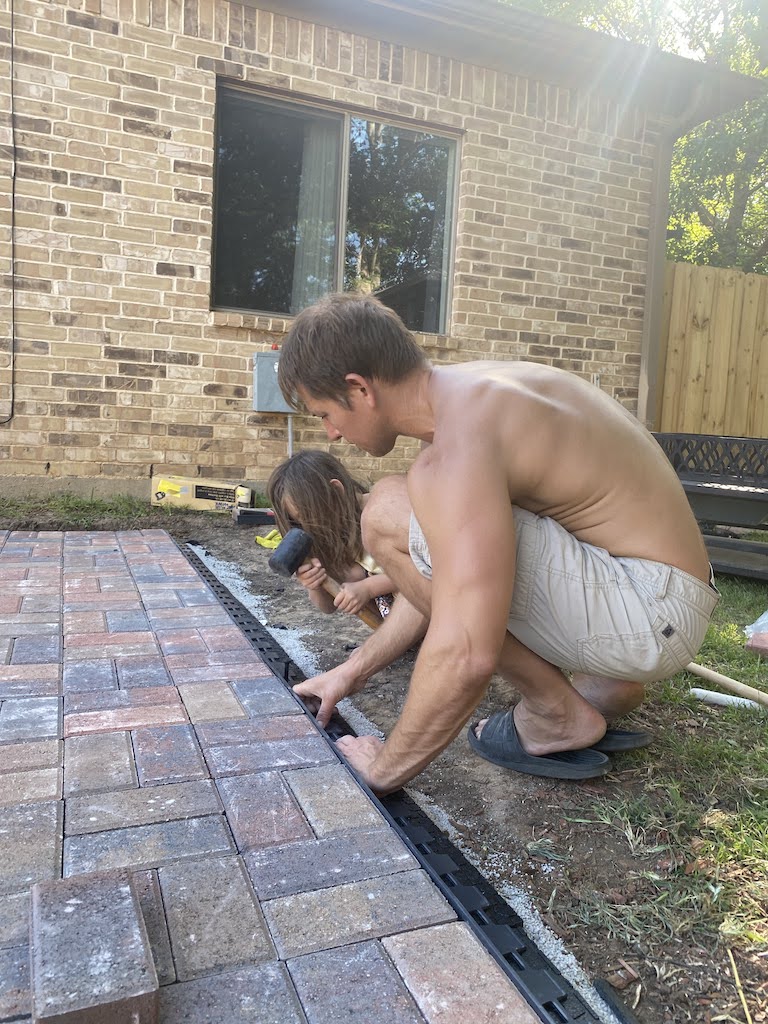
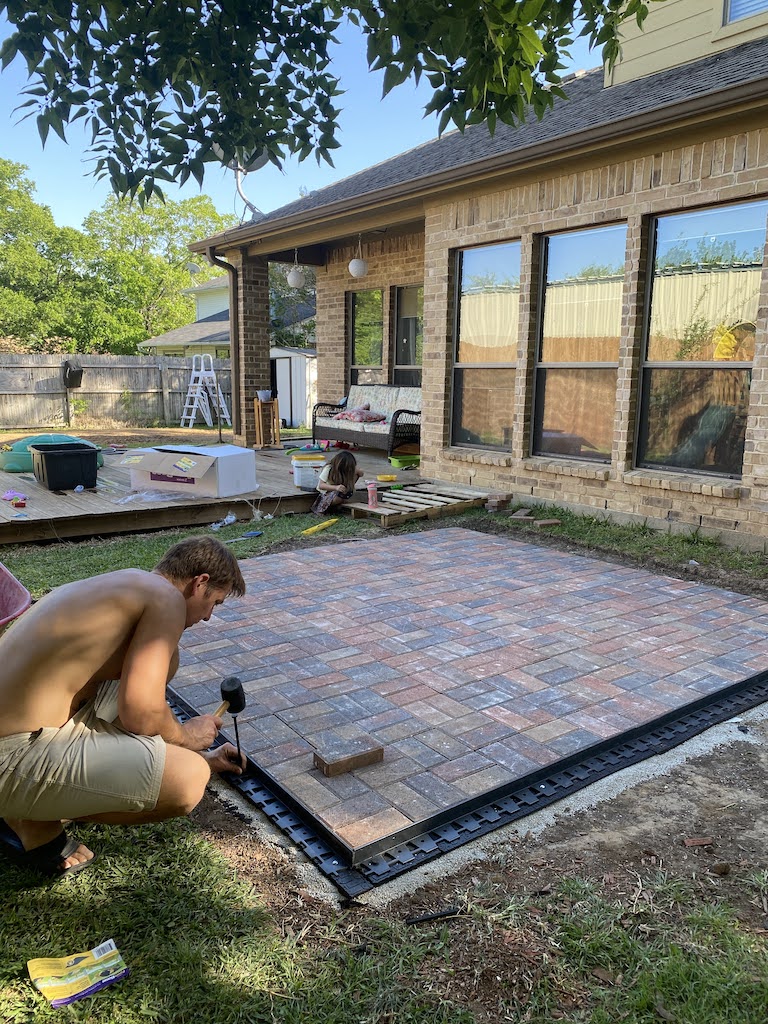
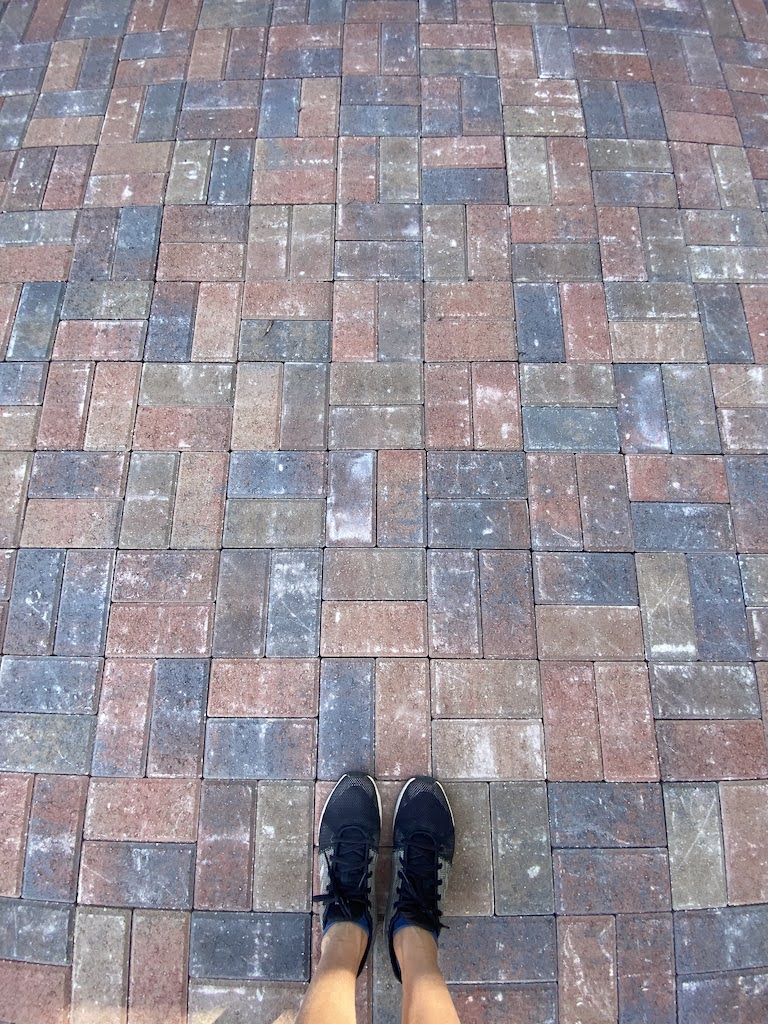
This process was fun and quite easy. Our 5 year old was excited to help and was able to put the pavers in herself and follow the pattern we chose.
I used the rubber hammer to help bring the pavers closer together and reduce the gaps in between them.
This part took us a few hours and was very satisfying. The hardest thing was to carry the pavers from our front yard all the way to the back. We used a wheelbarrow to speed up the process.
4. Finishing up the patio
Next day I used EZ Sand to set the pavers in place. It’s pretty easy to work with. You just have to spread it out in spaces in between the pavers, brush off the excess and water it to activate the setting power. I used a misting setting at first and then switched to the shower one.
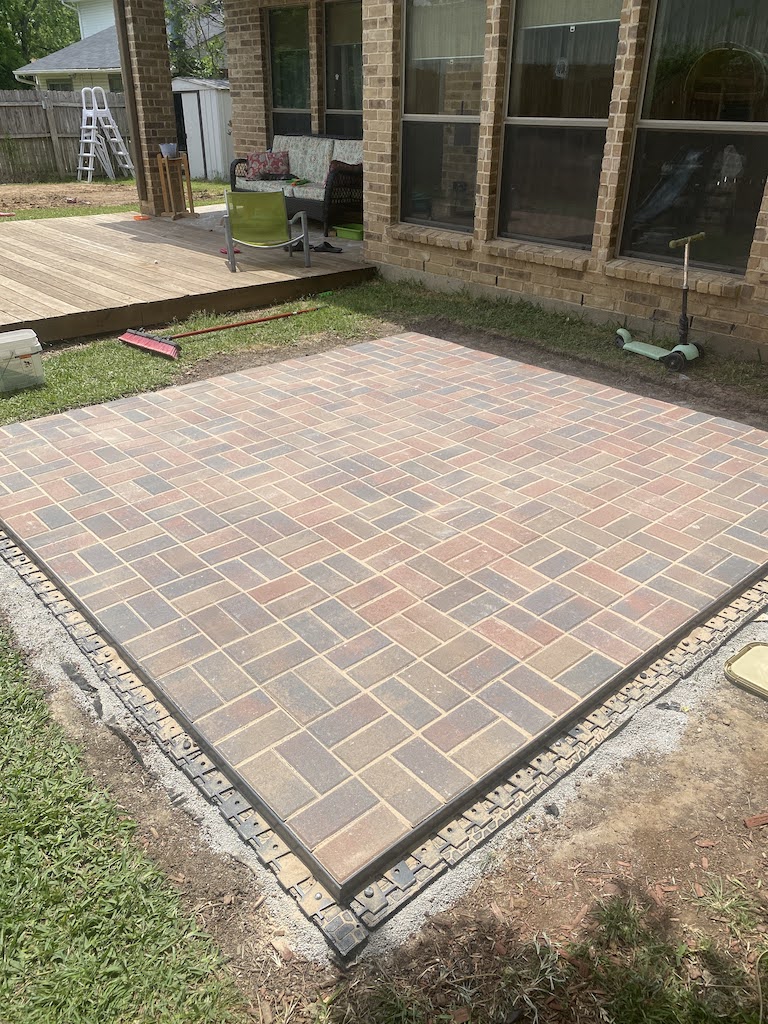
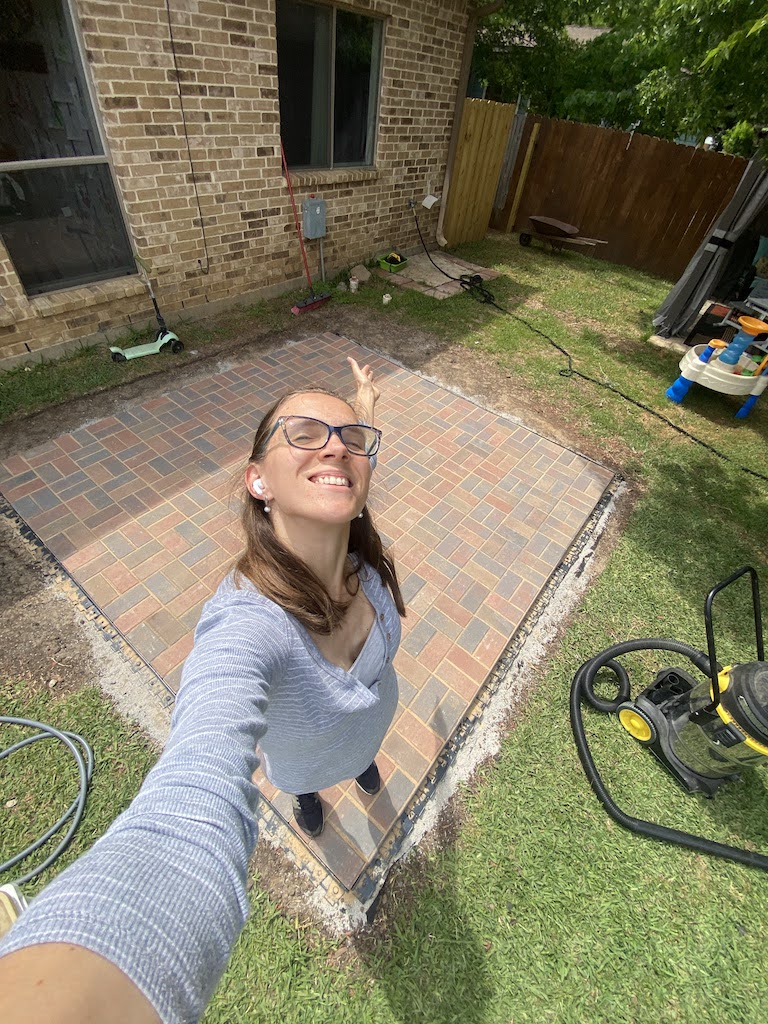
After that I brought back some grass to cover up the edges and with that the build was complete!
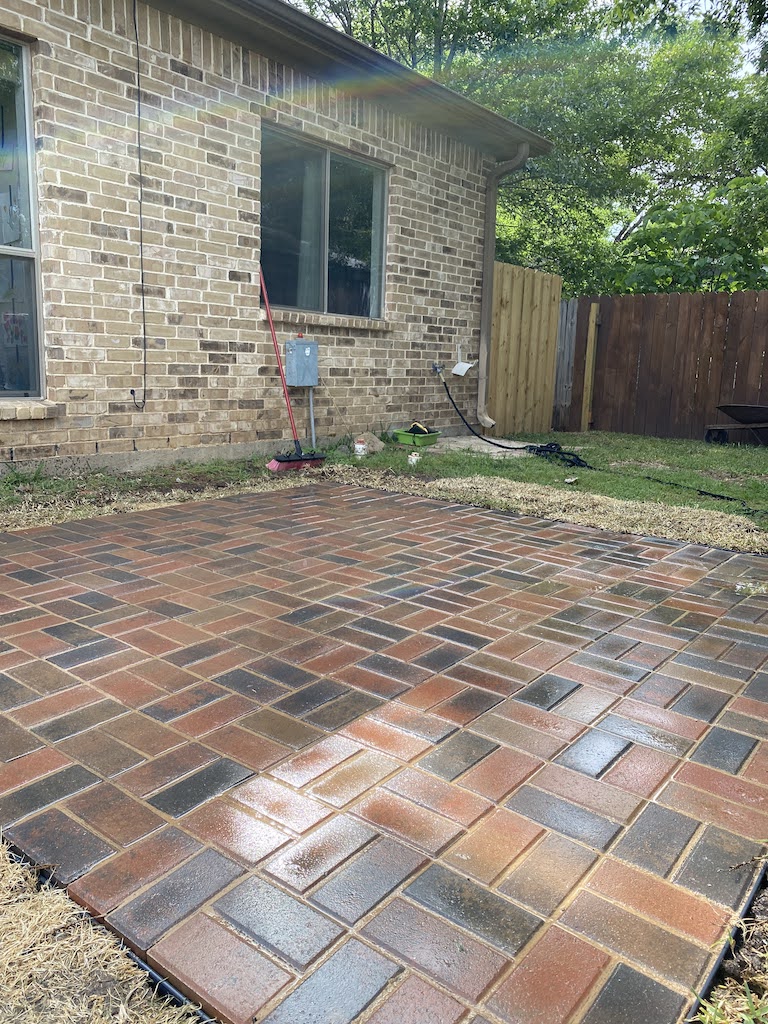
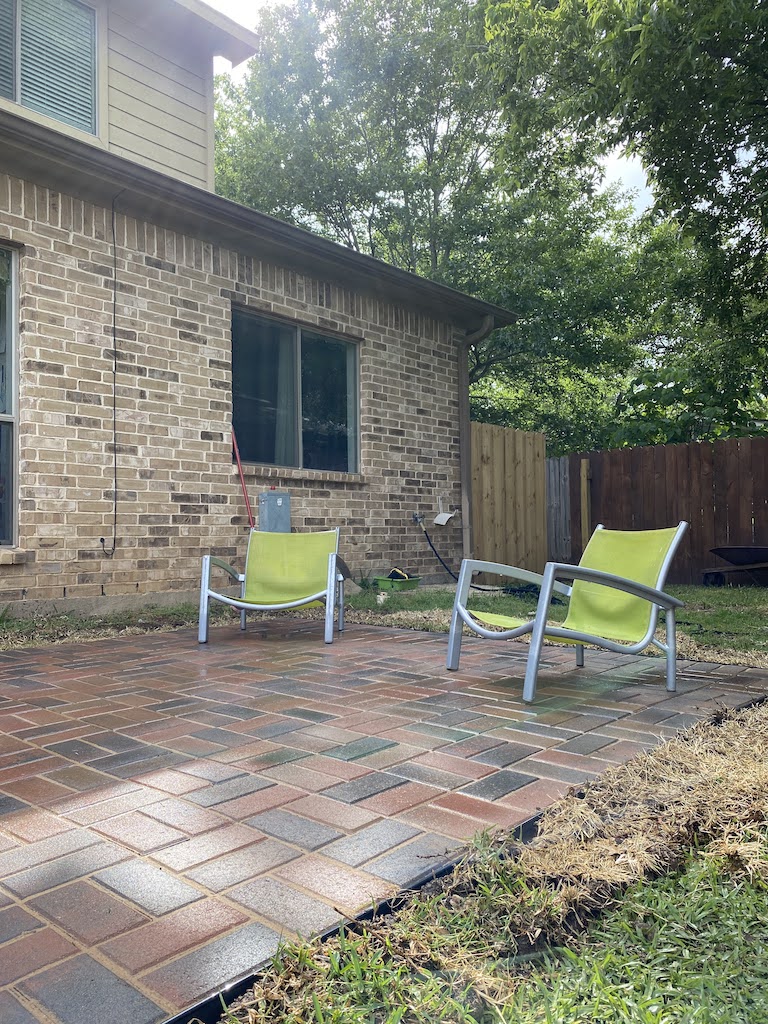
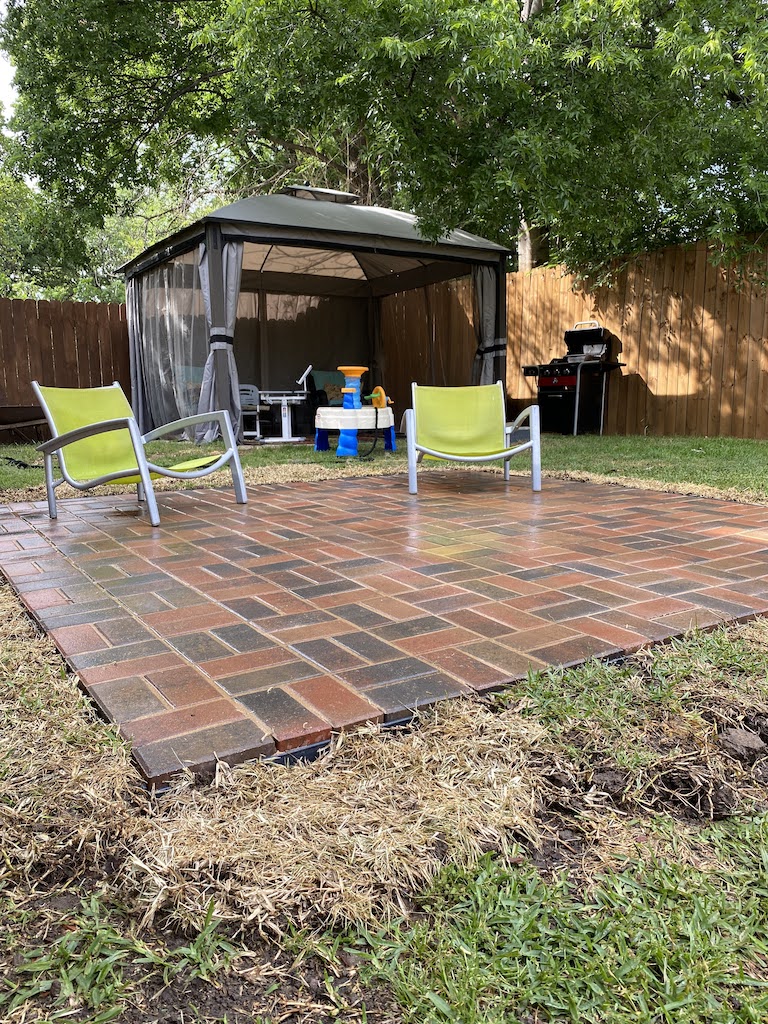
5. Enjoy the result
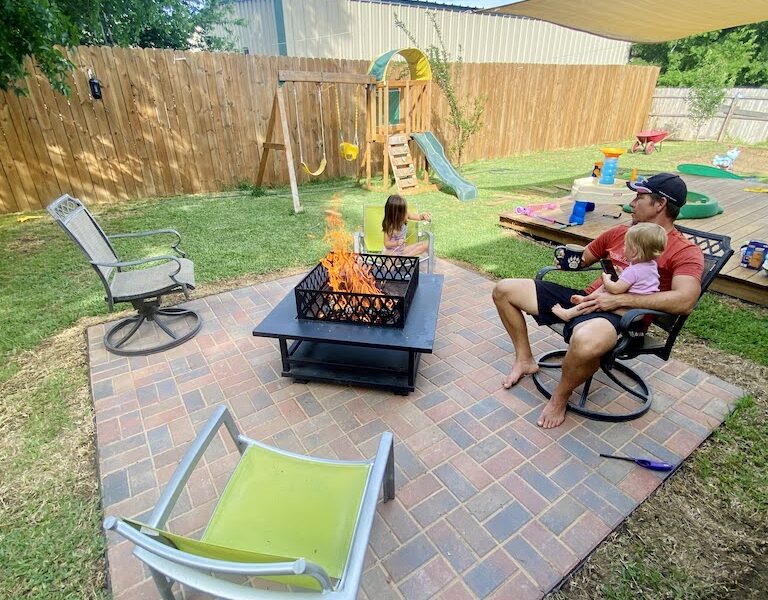
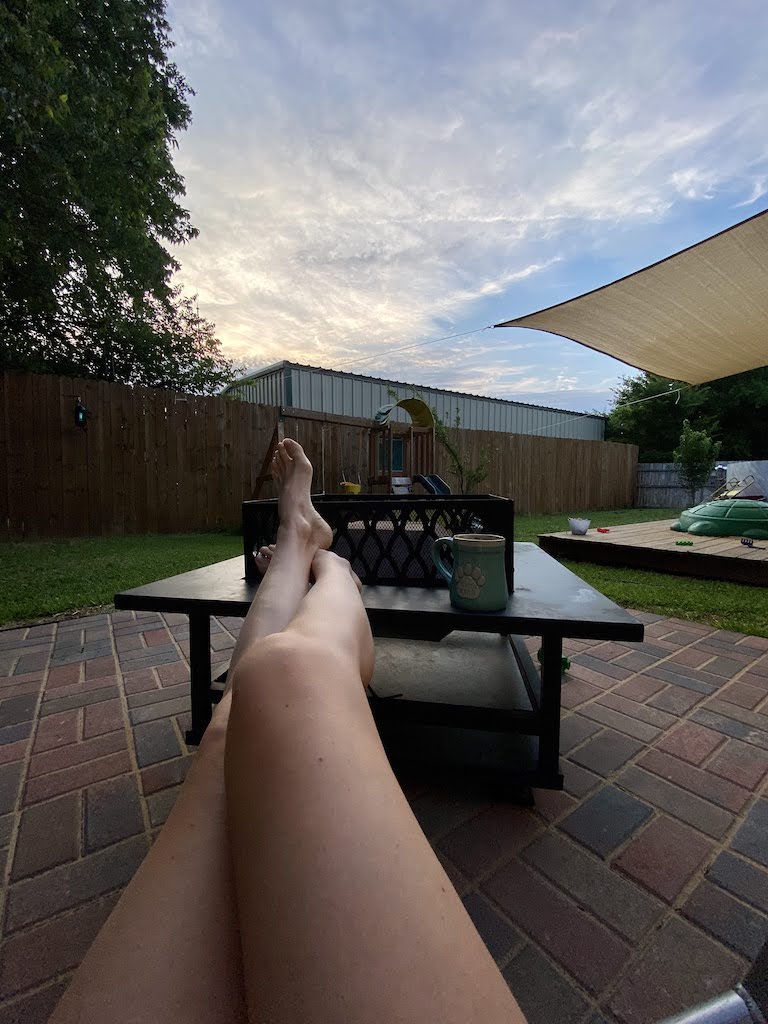
Even though it was a bit warm outside we couldn’t resist trying out our new fire pit spot, so yes, we started a fire and roasted some marshmallows.
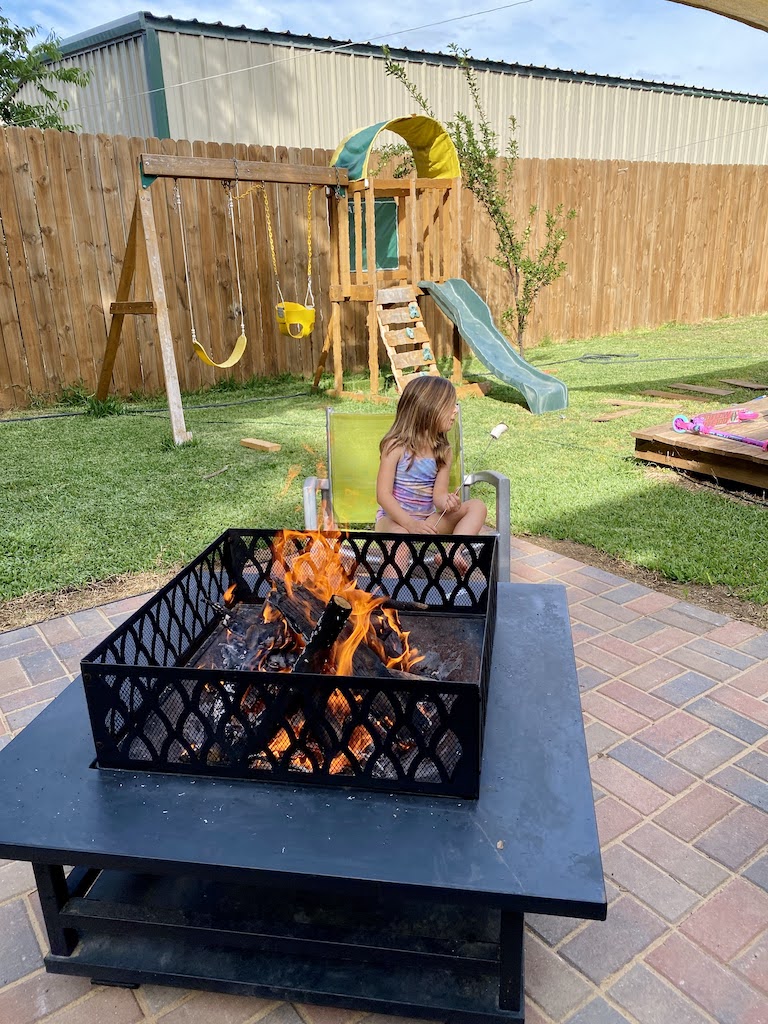
Why we love it:
- Warm memories: This newly added patio is a perfect spot for our family to create a life long memories of us being together.
- Practical and usable: Now we don’t have to worry about splinters and constant mess after a windy day.
- Eye candy: This patio draws your attention instantly and makes the whole backyard look and feel more luxurious and relaxing.
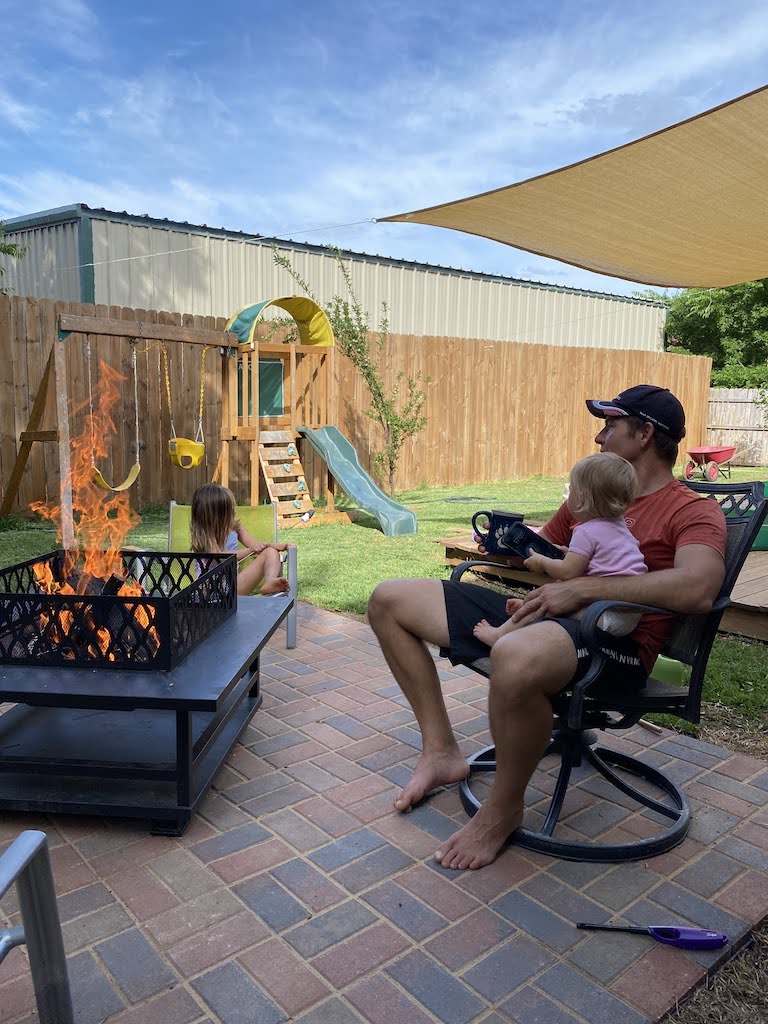
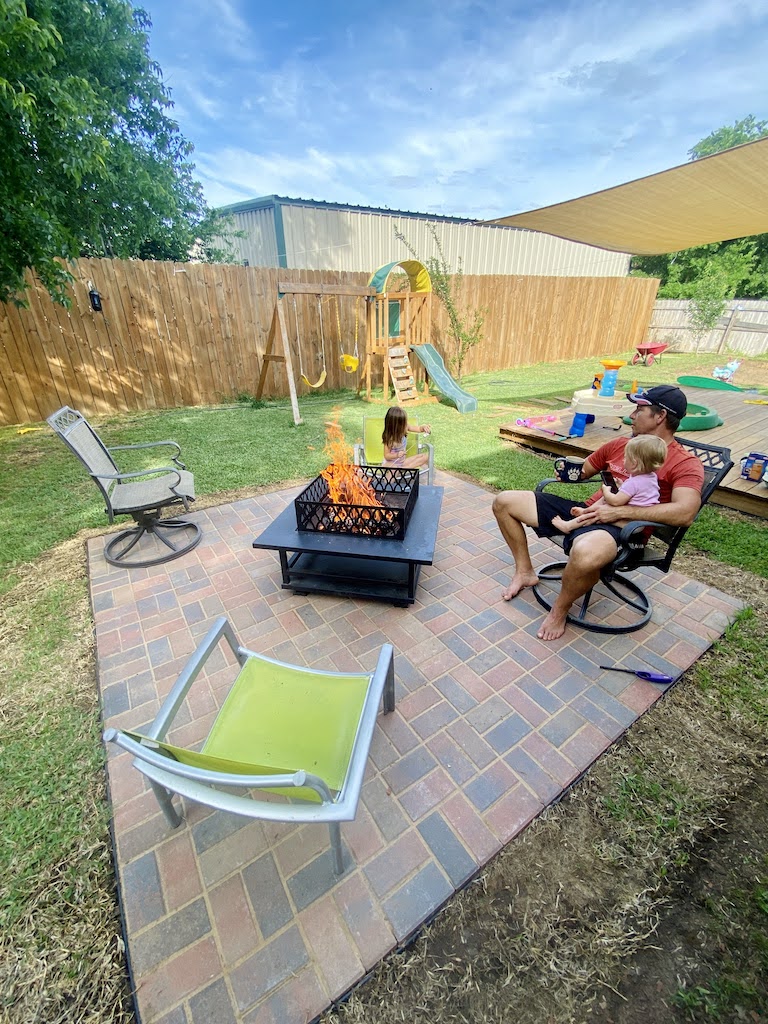
It was a great weekend project and definitely elevated our backyard. We love watching the stars and telling stories by the fire. I’m glad we get to enjoy this spot for years to come without worrying about mulch getting everywhere.
If you are interested in a cost breakdown, please check out THE TRUE COST OF DIY PAVER PATIO for more details.
I hope you got inspired and are ready to make your dreams a reality!
Hugs,
Hanna
