Grab a seat and get ready for a chat about our DIY kitchen adventure. We spend most of our time in our kitchen either cooking, eating or simply having a good time together. It was only a matter of time to get this space a facelift it deserved.
DIY Kitchen Renovation
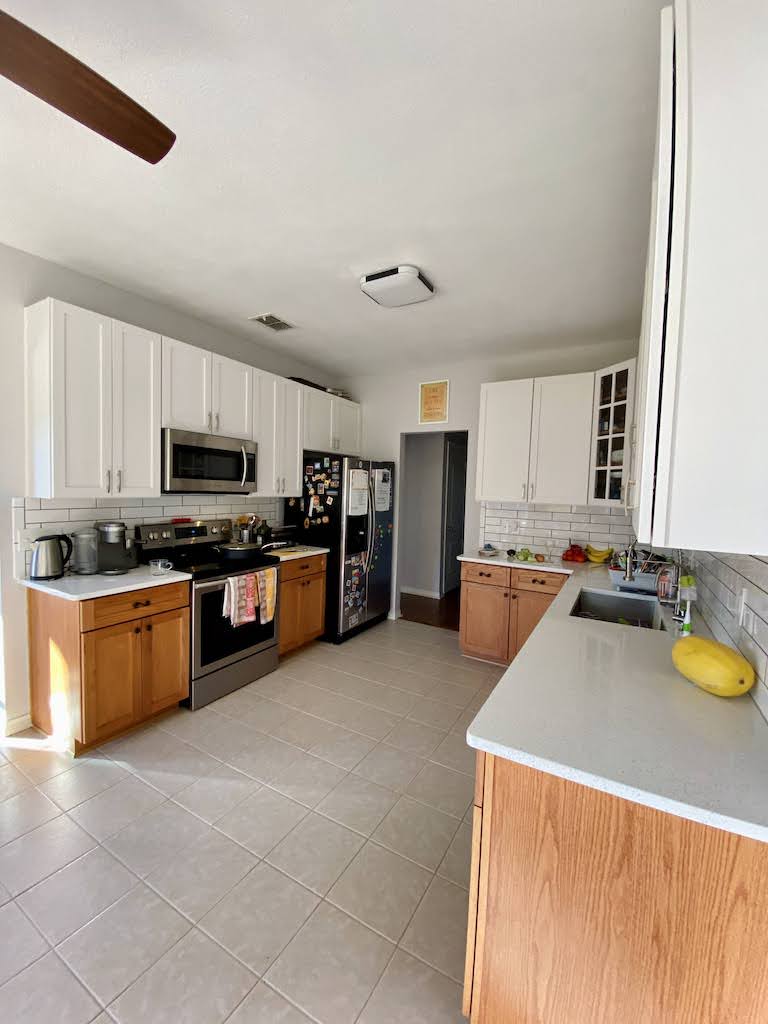
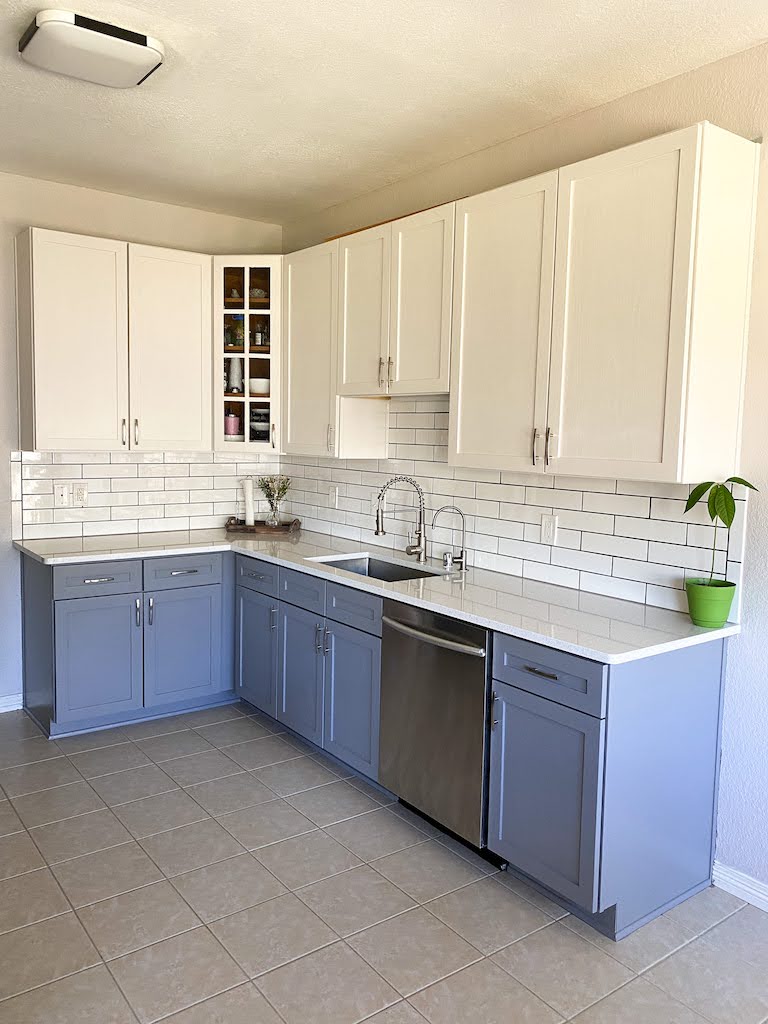
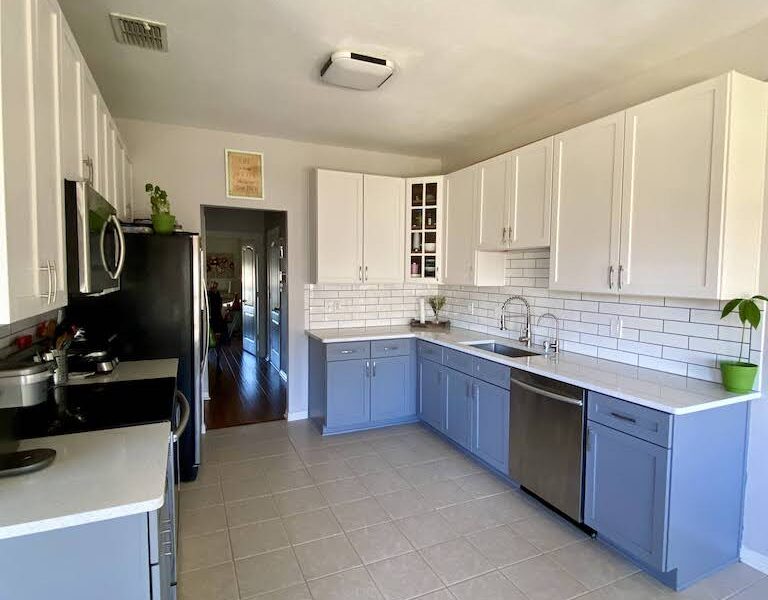
Picture this: laminate countertops bidding farewell, a sleek white quartz taking center stage, a long subway tile backsplash weaving its way into the scene, and the upper cabinets donning a fresh coat of white, while the lower ones embrace a cool gray. Intrigued? Let’s dive into the details of this kitchen transformation.
Material List
– White quartz countertops
– Long subway tiles
– White and gray cabinet paint
– New cabinet handles
– Painter’s tape
– Primer
– Screwdriver
– Caulk
– Wood filler
– Sandpaper
– Paintbrushes
– Roller
– Drop cloths
– Tile mortar
– Gray grout
– Sealer (for grout)
Step 1: Bid Farewell to Laminate Countertops
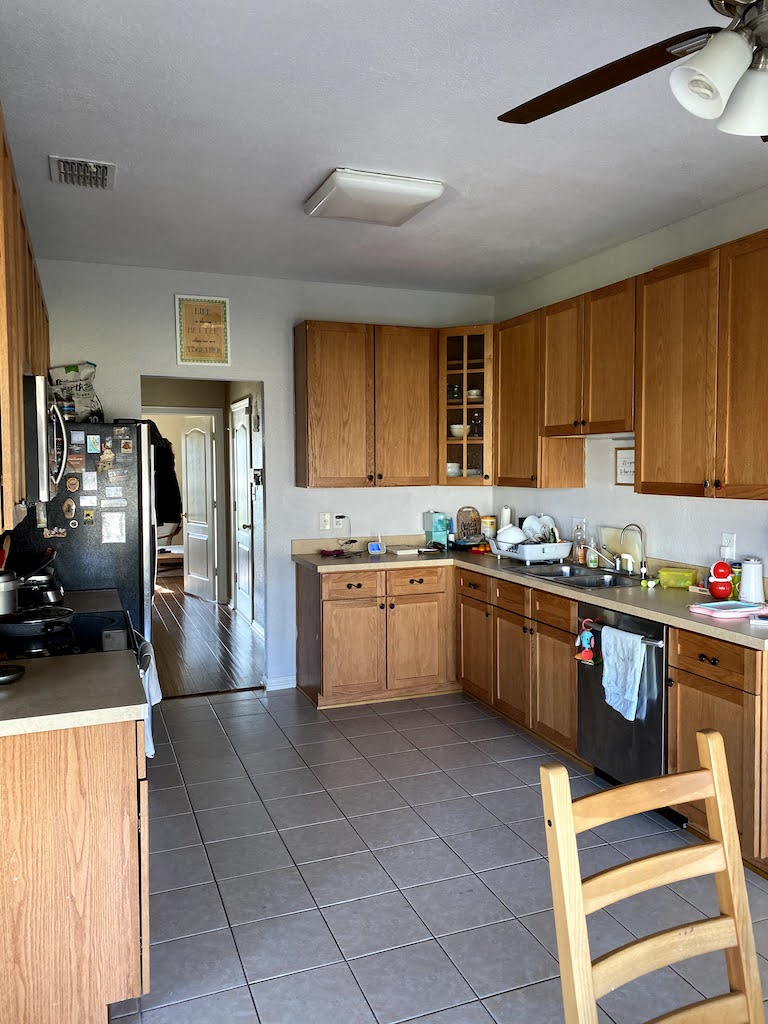
So, we started with a kitchen that was fine but needed a breath of fresh air. First on the agenda? Those laminate countertops. We waved goodbye to them and welcomed in the elegance of white quartz.
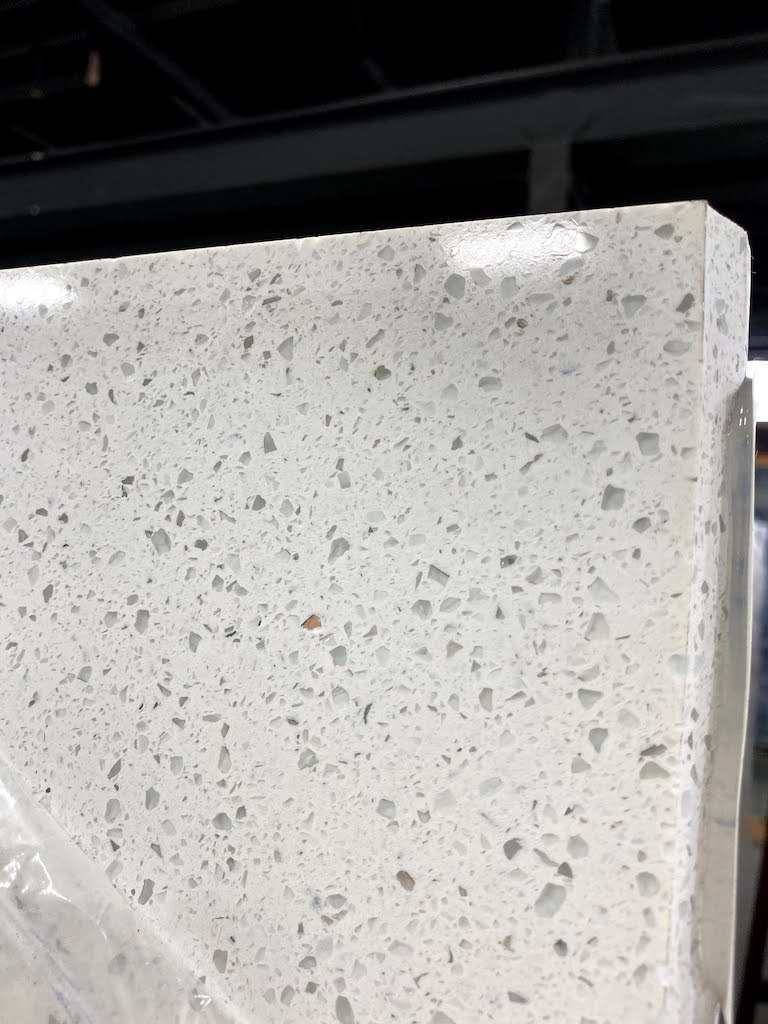
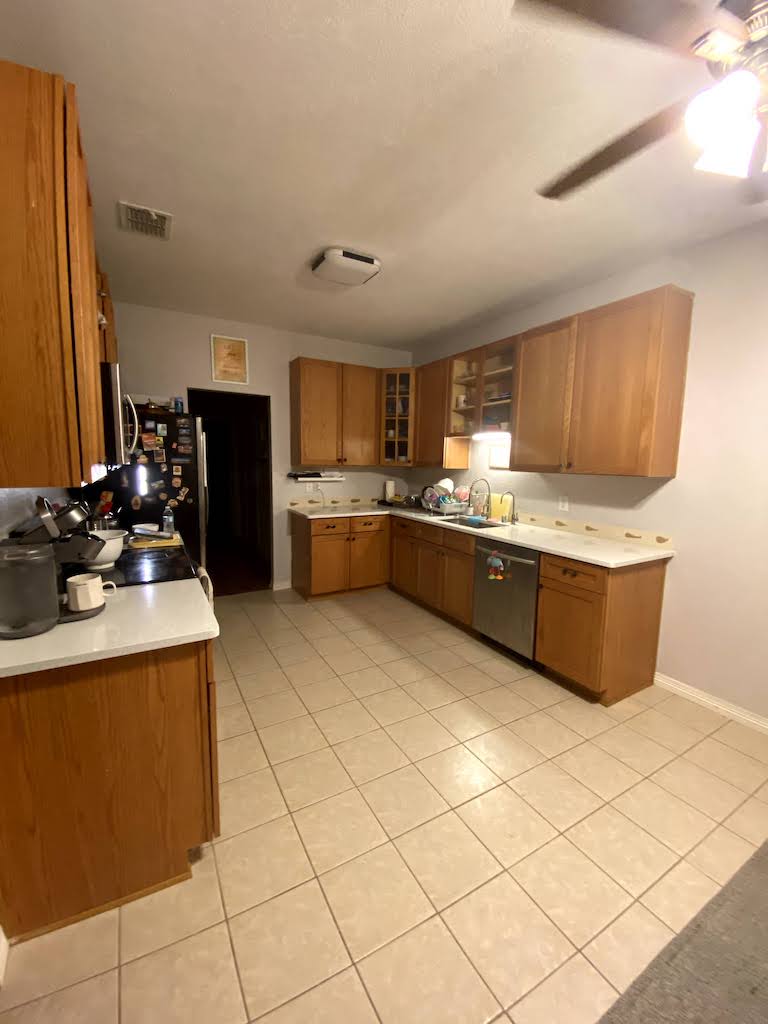
We decided to bring in the experts for this job and let the professionals handle it all. The result? Our kitchen transformed in an instant, bursting with light and feeling much more spacious.
Step 2: Subway Tile Charm
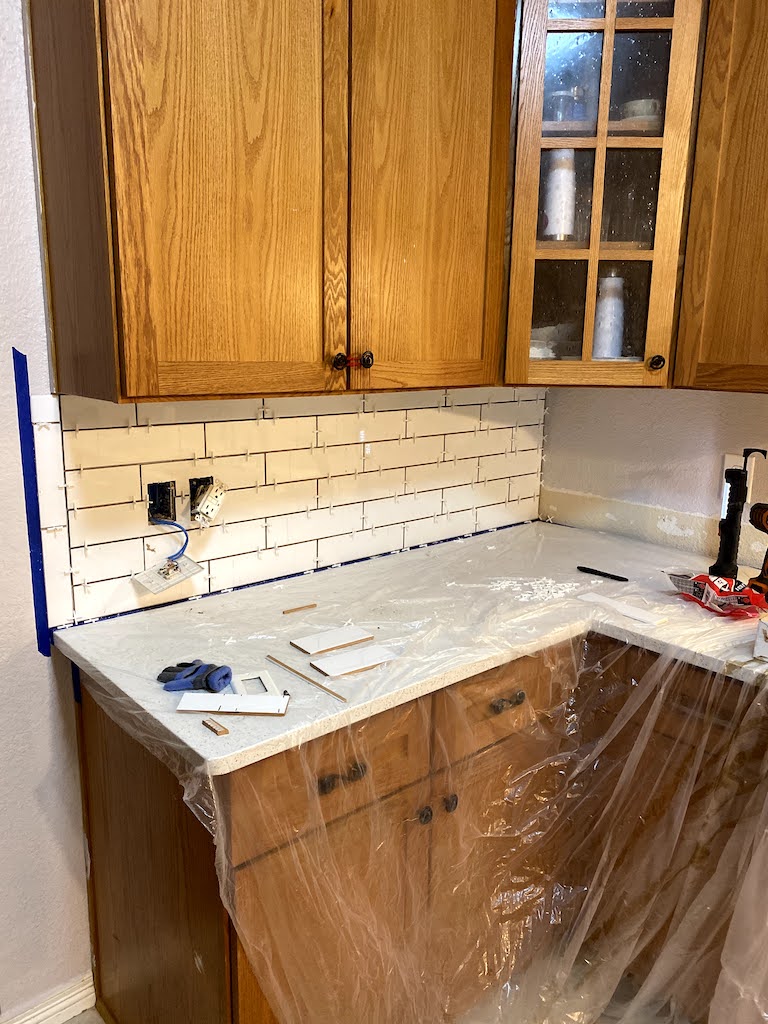
Next up, we wanted a backsplash that would be a conversation starter. Long subway tiles to the rescue! Installing them was surprisingly easy. With tile mortar, a bit of patience, and a level, we created a sleek backdrop that instantly transformed the kitchen.
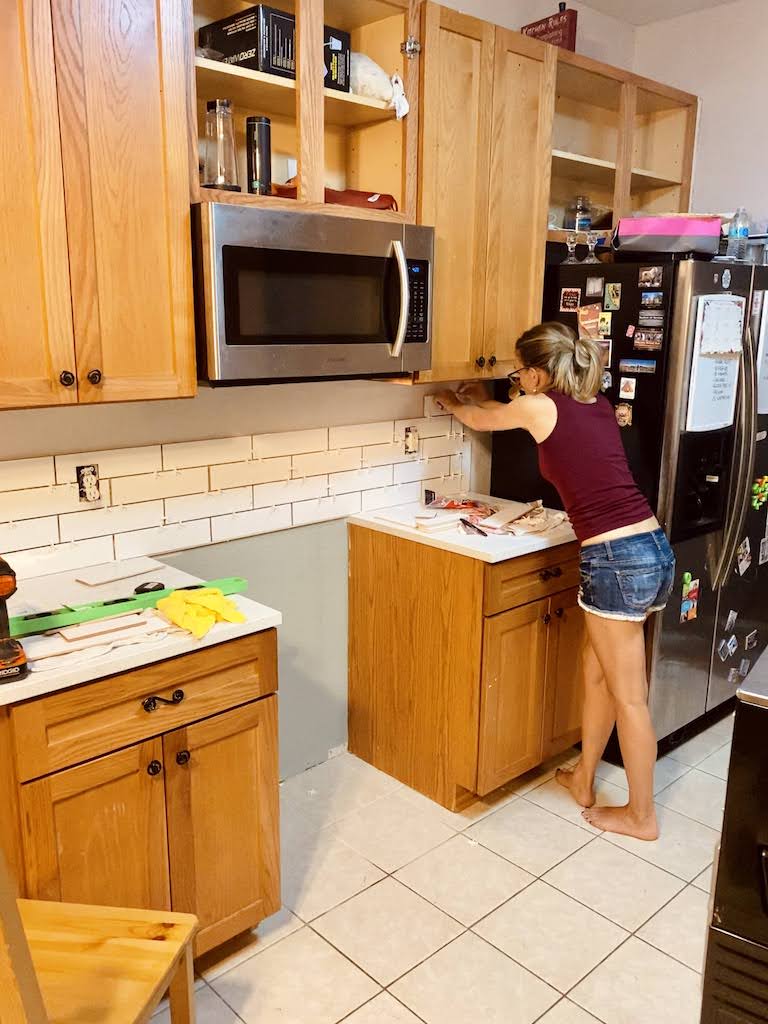
But here’s the secret ingredient – dark gray grout. Even though it took some time to convince my husband to go with a darker color grout, it was definitely the right choice for our newly updated kitchen. I love the contrast and crisp lines. It was an easy way to offset all the whites that we were adding to our room.
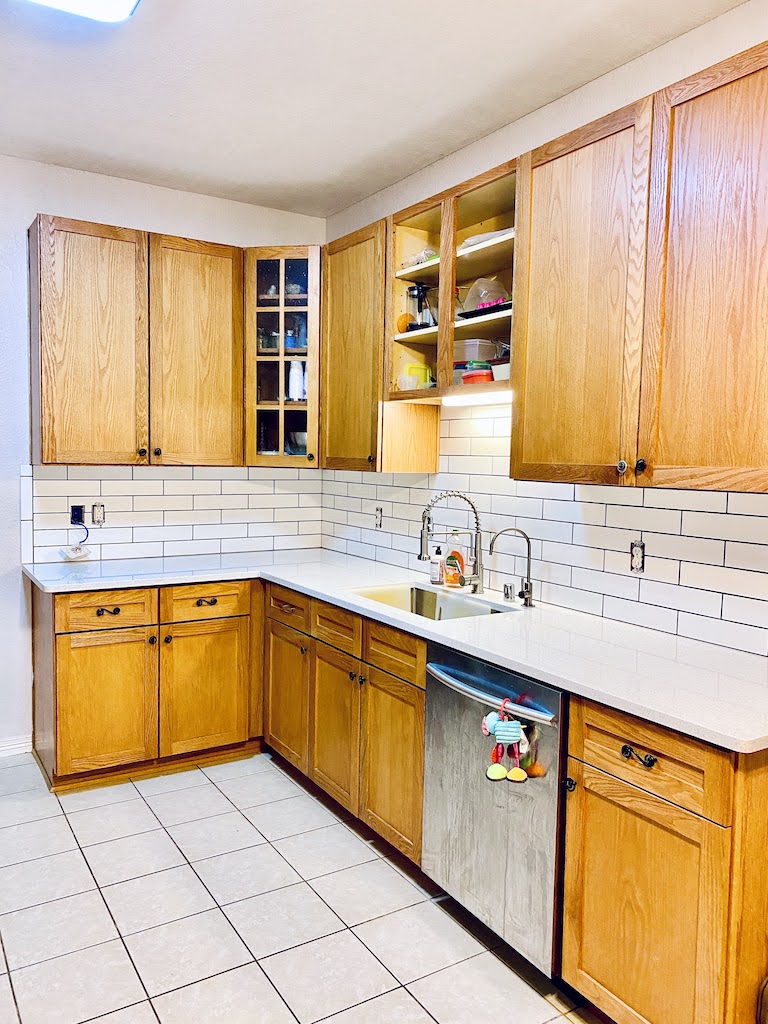
Step 3: Painting Cabinets Party
Now, let’s talk about the cabinets.
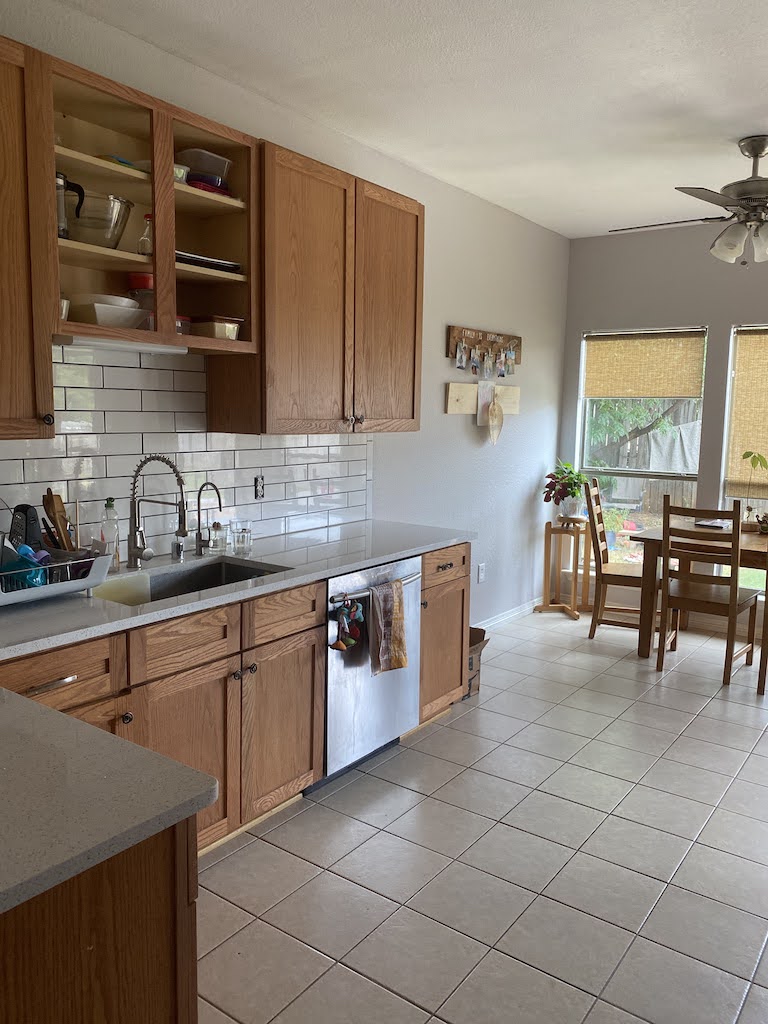
I always wanted a white kitchen, but seeing the countertops and a backsplash together got me thinking that it might be a bit too much white to paint all of the cabinets in one color. So we decided to split things up and add some color: white tops with gray bottoms for the win!
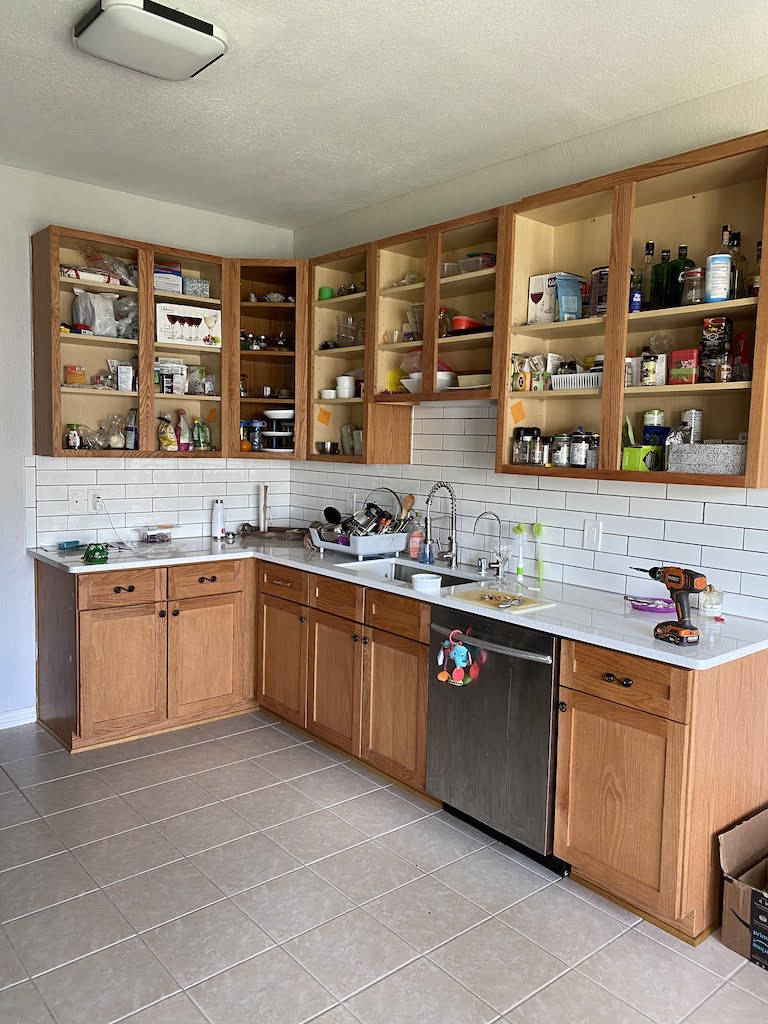
But before we could dive into the fun part, a bit of prep work was in order. And when I say a bit I actually mean lots and lots of tiny steps that make all the difference.
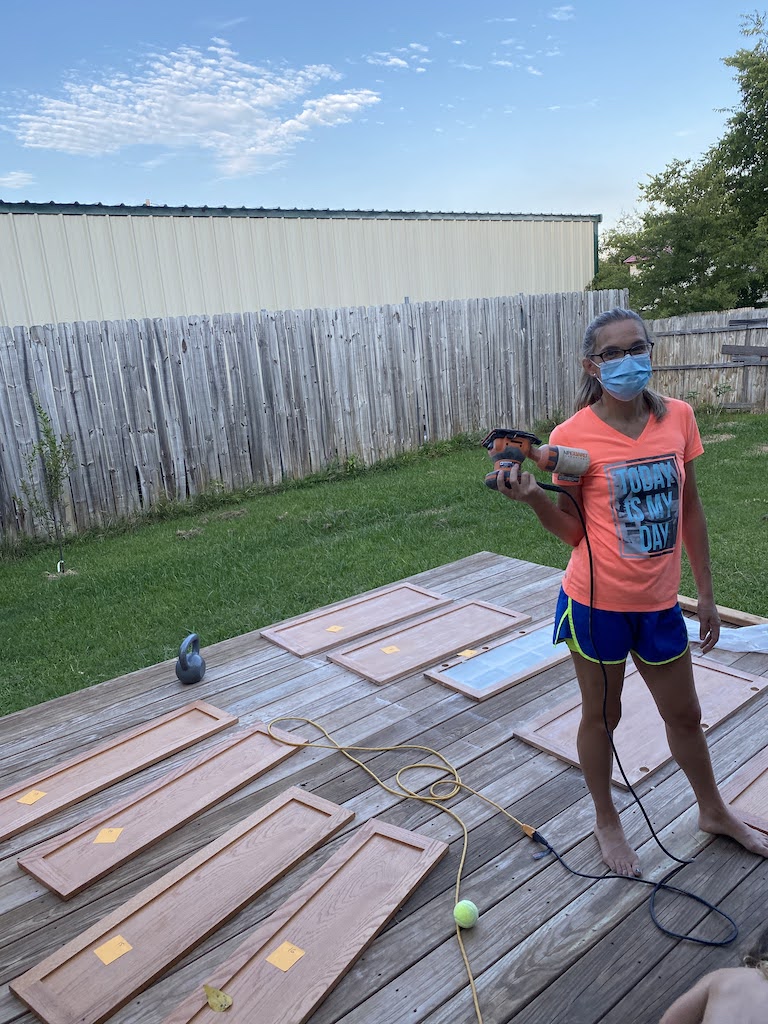
Prep Work Checklist:
– Remove cabinet doors and hardware.
– Clean surfaces thoroughly.
– Fill any holes or imperfections with wood filler.
– Sand surfaces to ensure proper paint adhesion.
– Clean everything once again to get rid off dust.
– Apply primer for a smooth finish.
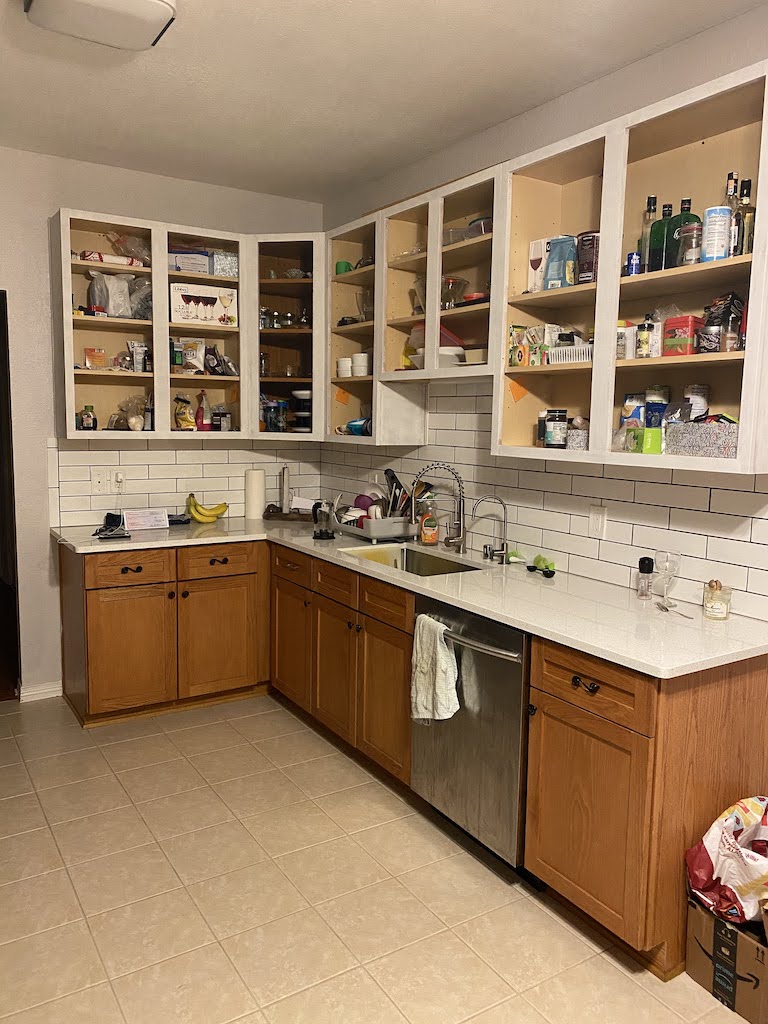
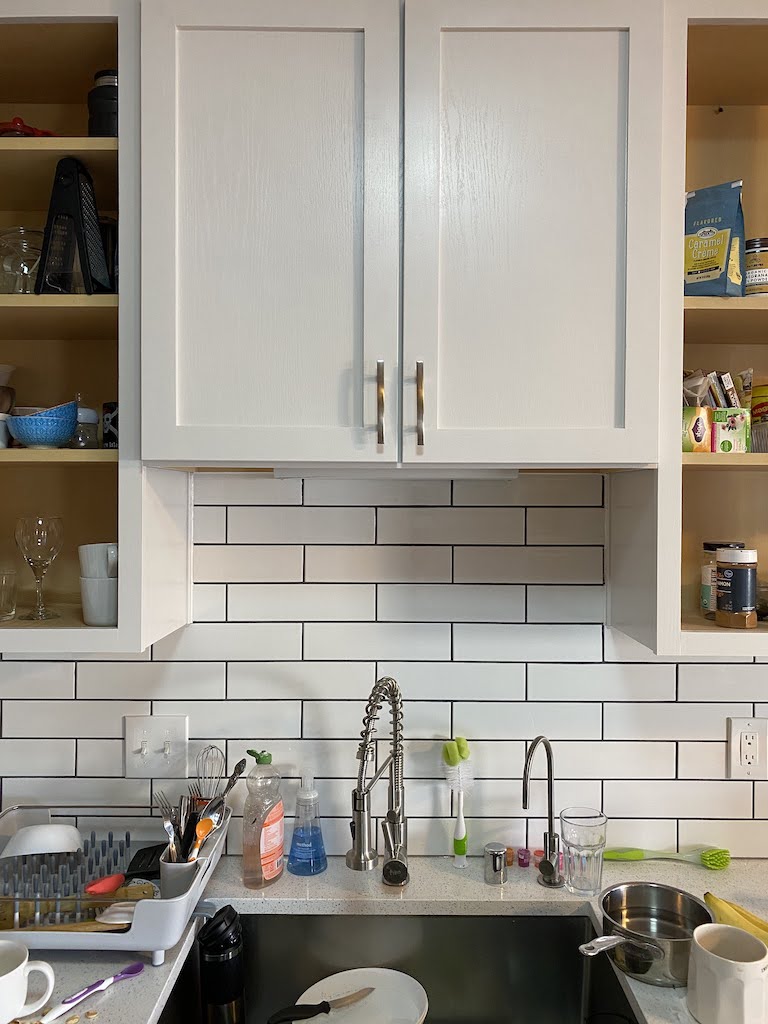
Painting Process:
– Use painter’s tape to protect surrounding areas.
– Apply your first coat of paint evenly using brush and roller(paint sprayer is always an option for a smooth finish).
– Let it dry completely before applying a second coat(I had to do 4 coats on my upper cabinets and 3 on the bottom ones).
– Seal the deal with a clear sealer for durability(I used a cabinet paint so I skipped that part altogether).
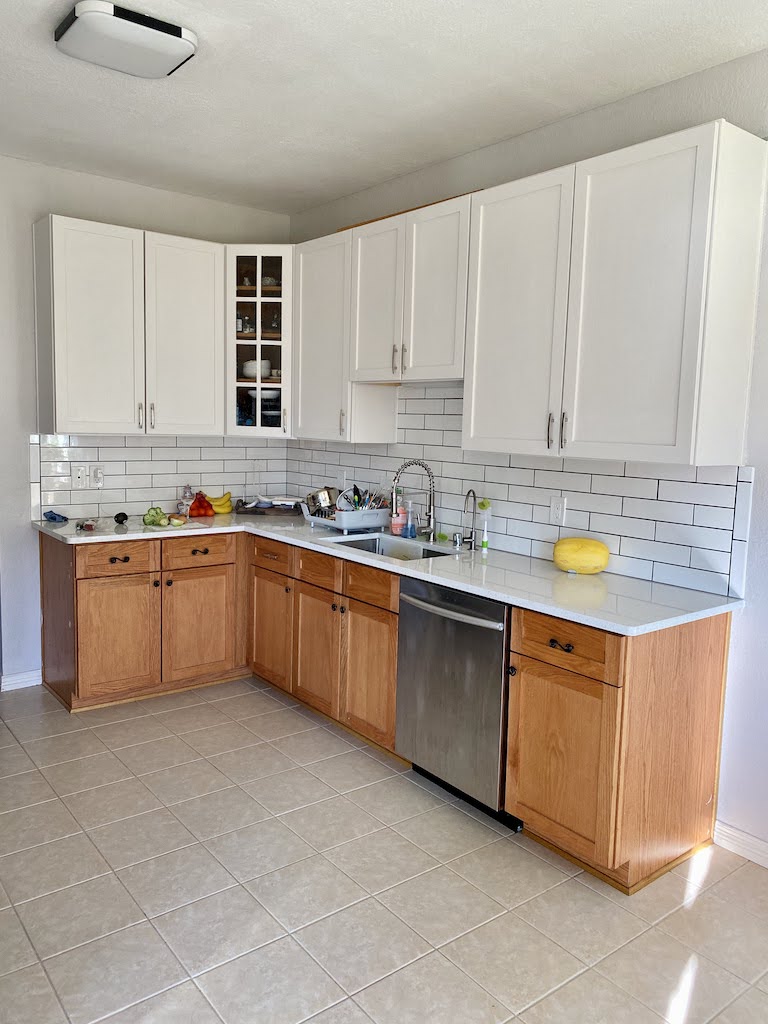
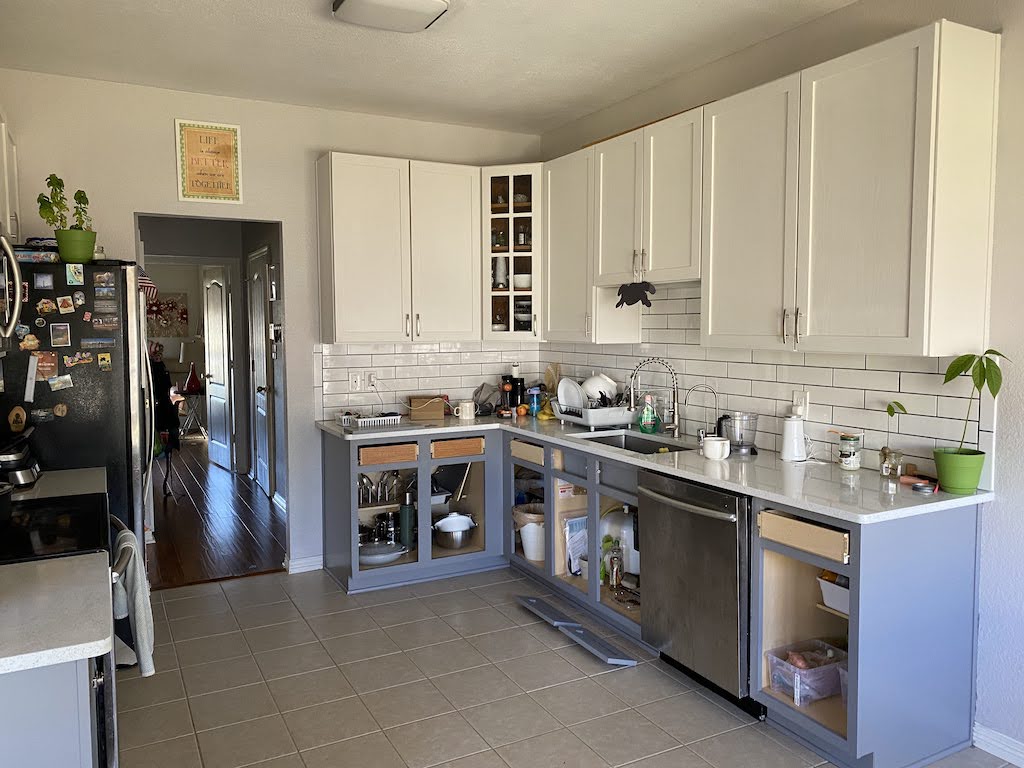
Final Touches:
– Reattach cabinet doors and add new hardware.
– Caulk around countertops and edges for a polished look.
– Step back and marvel at the incredible transformation.
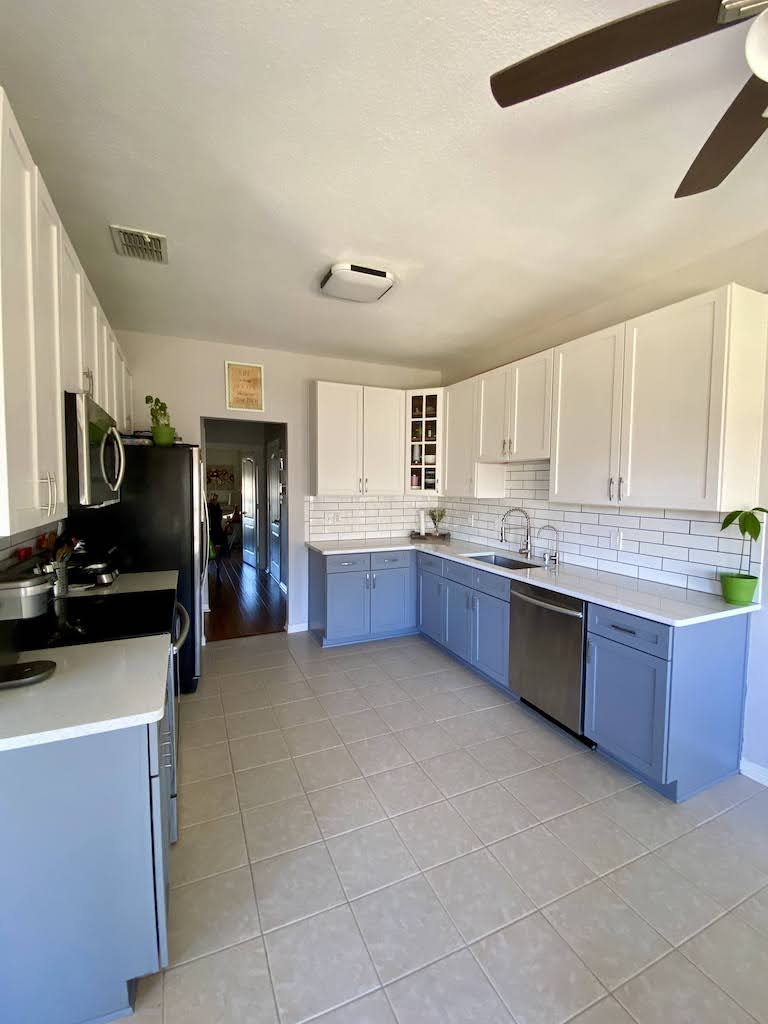
Why We Love It:
– Fresh and Modern Feel: The white quartz and subway tiles bring a modern touch, making the kitchen feel brand new.
– Light and Airy: The white upper cabinets contribute to an airy atmosphere, while the gray lower cabinets ground the space.
– Easy Maintenance: Quartz countertops are a breeze to clean, and freshly refinished cabinets are tough enough to take a beating from our growing family.
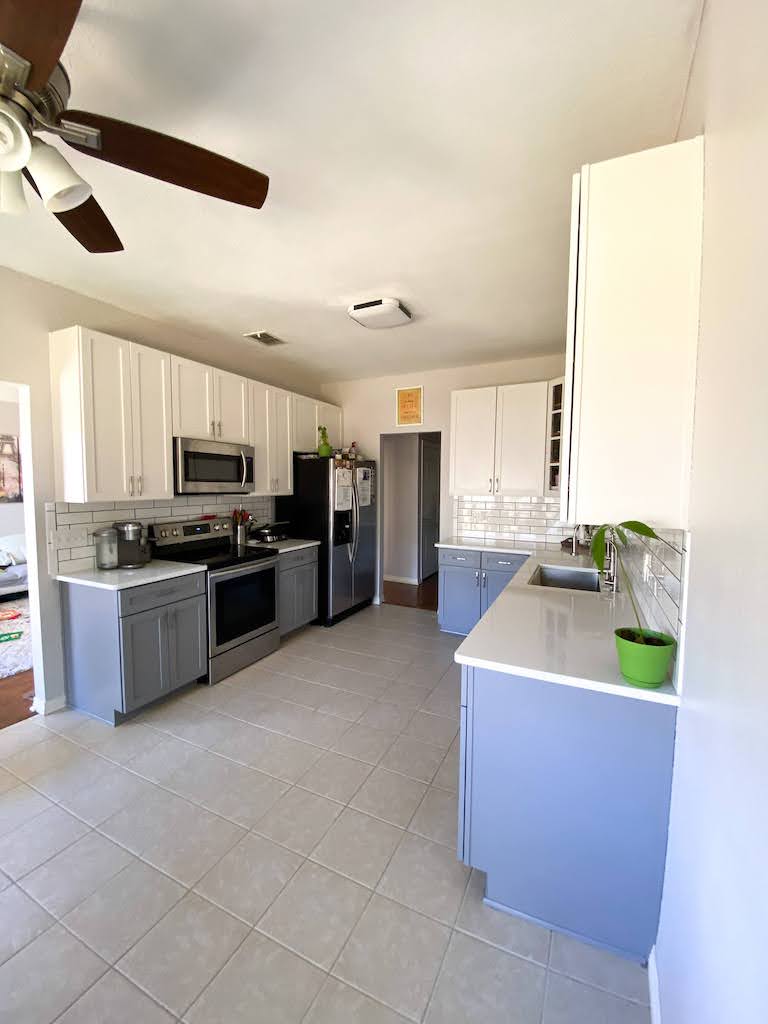
And there you have it – our DIY kitchen remodel journey! It wasn’t without its challenges, but the result is a kitchen that feels like a breath of fresh air. Remember that dreams can become a reality when you are willing to put in the work. If you’re thinking of tackling a similar project, go for it! It’s amazing what a little bit of paint and a dash of creativity can do.
Hugs,
Hanna


3 comments
Great job, Hanna! I was wondering what was the cost of the whole remodel?
Thank you! We got a great deal on countertops and installation, but majority of our budget went there anyway. The whole remodel turned out to be something around $3K.