DIY window trim
Are you tired of staring at your outdated window frames but don’t want to go through a big DIY project that requires a lot of demo work? Are you wondering how to trim a window without removing the window sill? I know I was!
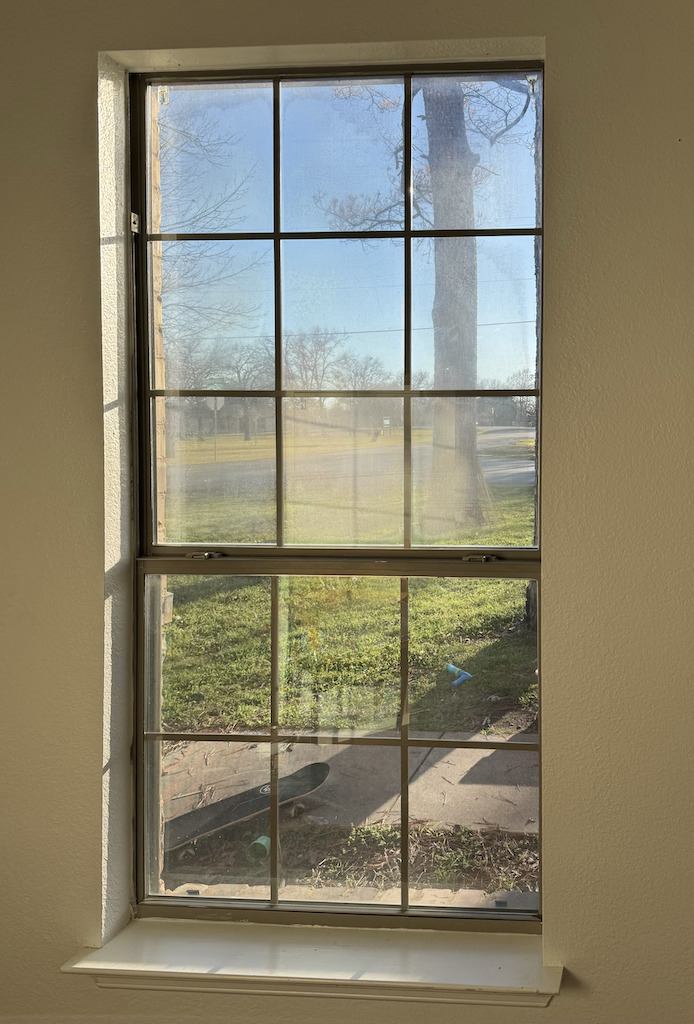
But with a little DIY magic, a few trim boards, and a nail gun I transformed the look of my office window without the hassle of removing the window sill. So you can too!
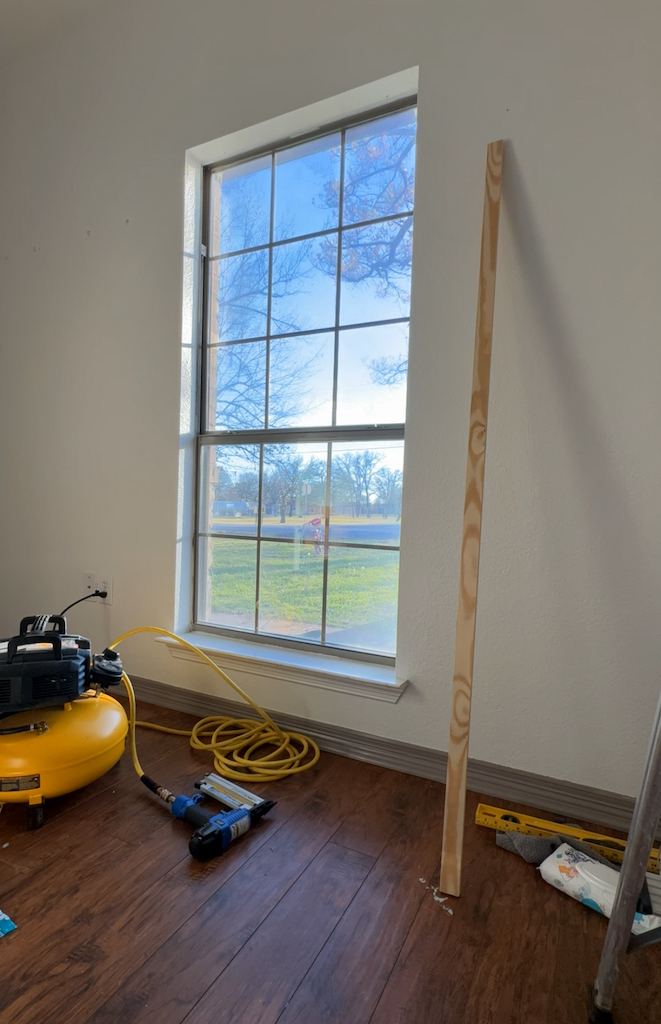
How to trim a window
Trimming your windows can breathe new life into any room, giving it a fresh and polished appearance.
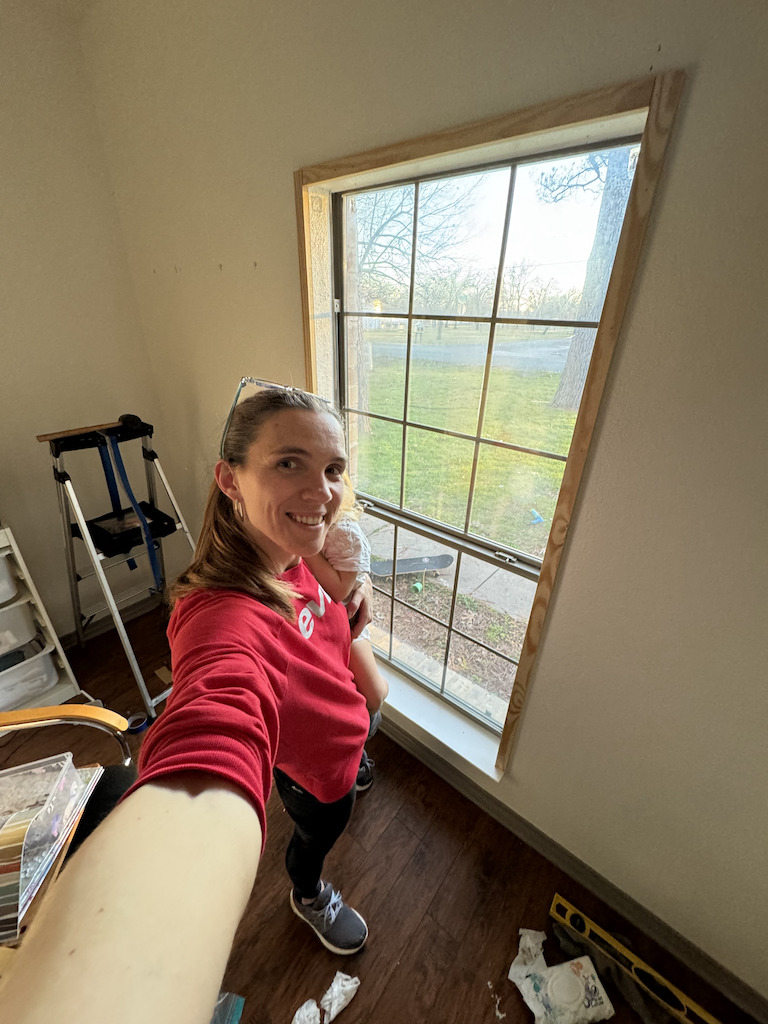
So here’s everything you need to know to trim a window yourself.
Step 1: Gather Your Materials
Before diving into the project, make sure you are ready and have all the necessary materials on hand:
- Measuring tape
- Pencil
- Level
- Miter saw or multi-tool
- Wood trim(I used 1x2x6 boards)
- 1 1/4 inch brad nails
- Nail gun
- Wood filler
- Paintable caulk
- Sandpaper
- Paint or stain
Step 2: Measure Twice, Cut Once
Start by measuring the dimensions of your window frame.
Since we are not removing the sill you need to measure the sill overhang on each side of the frame. That would be the width of your trim.
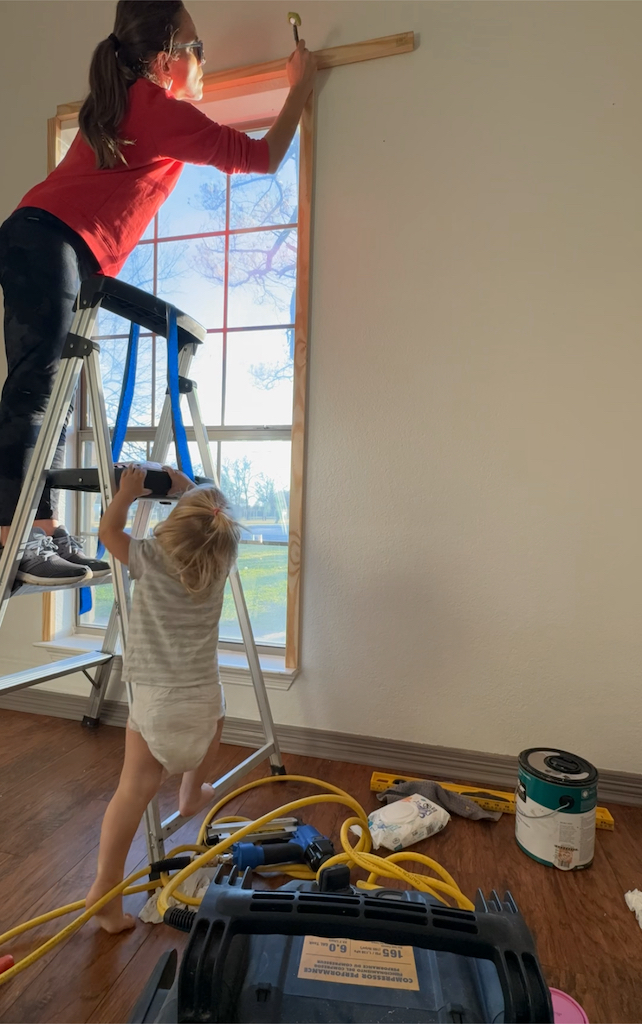
In my case, 1×2 boards worked perfectly. If your overhang doesn’t correspond with any standard trim board sizes, just measure the needed width and ask the wood to be cut to size at the hardware store.
Then measure the length and width of each side, as well as the top. Record these measurements accurately to ensure your trim pieces fit perfectly.
Step 3: Cut the Trim
If you got your wood cut at the hardware store then you are all set and ready to jump to the next step.
If not, then you must decide what style you are going for and if you need straight cuts or miter ones. Use a miter saw for perfect 45-degree cuts.
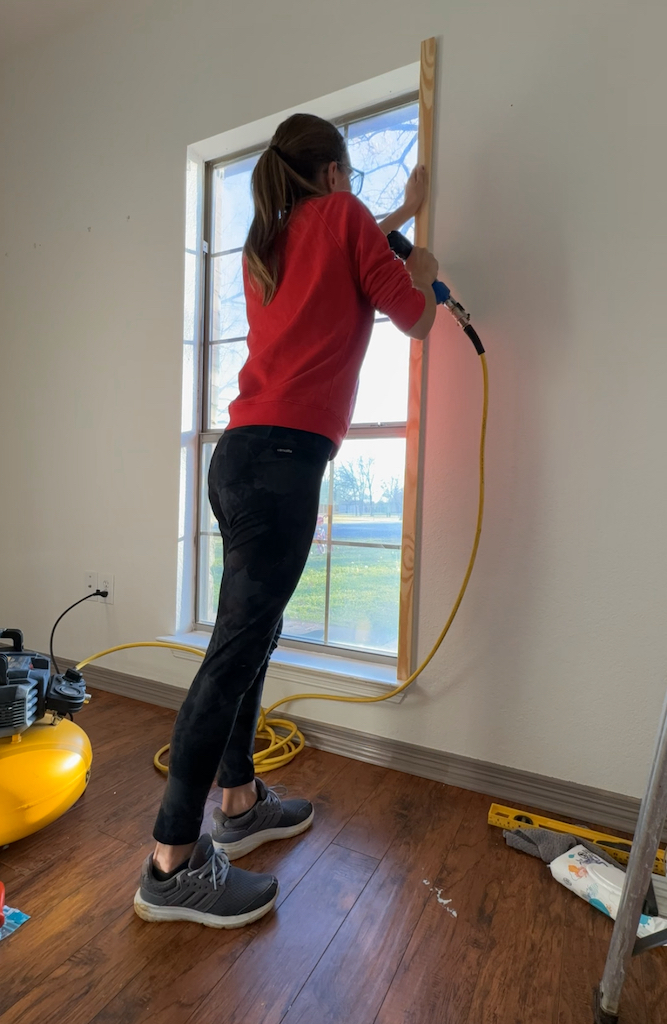
I went for straight lines this time to make it easier. And since 1x2x6 boards were the exact size that I needed for my makeover I had to make only one cut for the top piece using my Skil Oscillating tool.
Step 4: Dry Fit the Trim
Once all the pieces are cut, dry fit them around the window frame to ensure they align properly and that you like the final look.
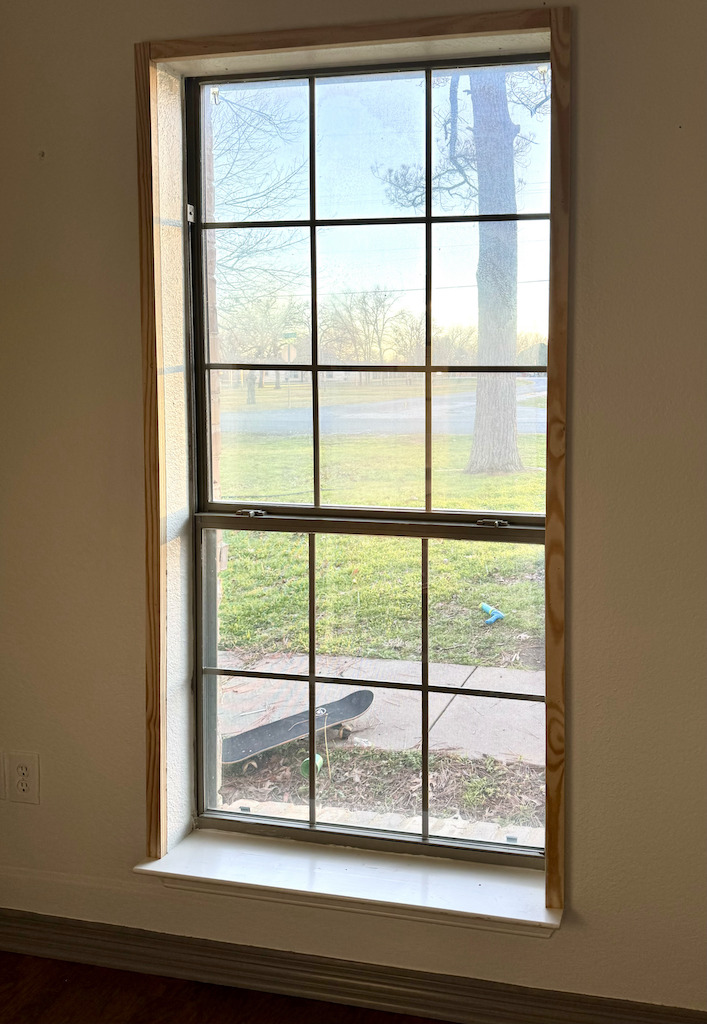
Step 5: Install the Trim
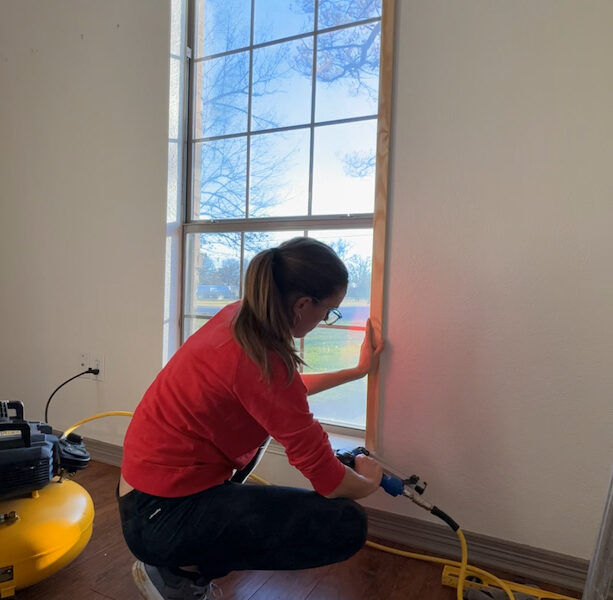
Carefully place each trim piece around the window frame. Use a level to make sure that the boards are straight.
Use finishing nails(I used 1 1/4 inch brad nails) to secure the trim in place, making sure to countersink the nails slightly below the surface of the wood.
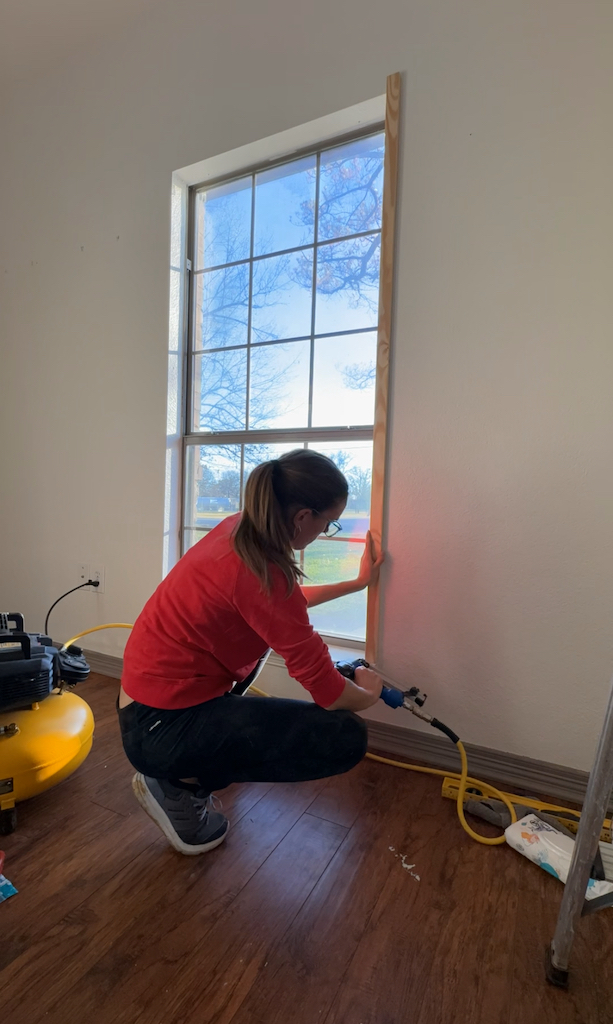
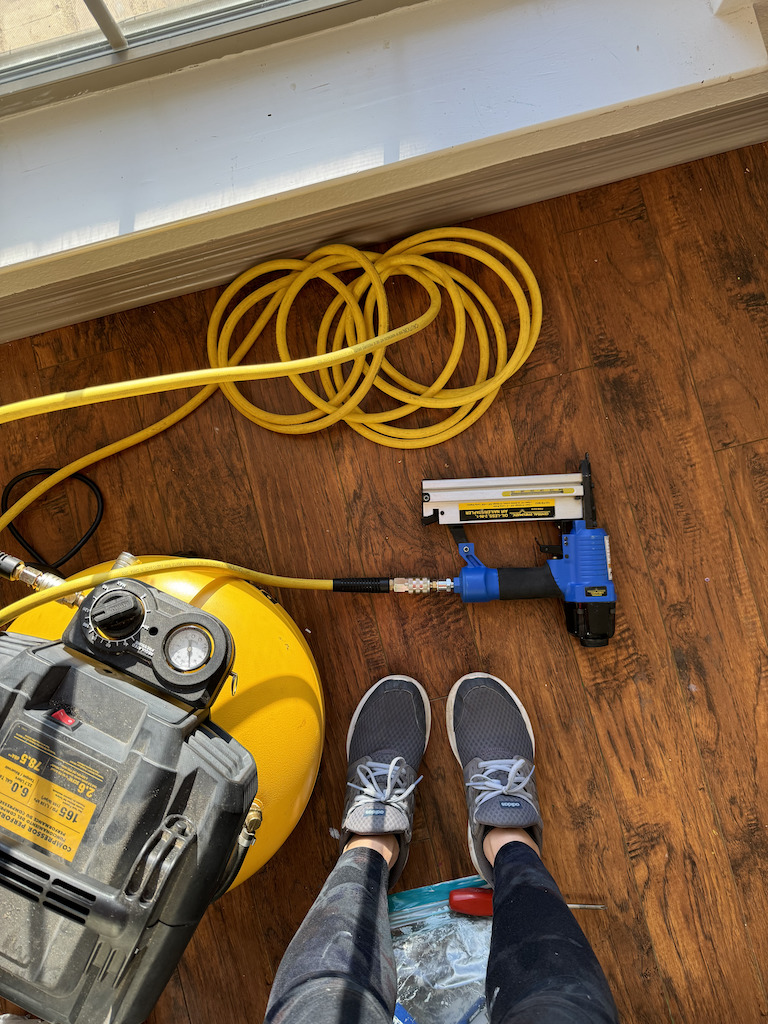
It was easier for me to start working at the bottom of the frame and go up from there. First I installed the side pieces and then the top one using my pneumatic nail gun and the air compressor.
Step 6: Finishing Touches
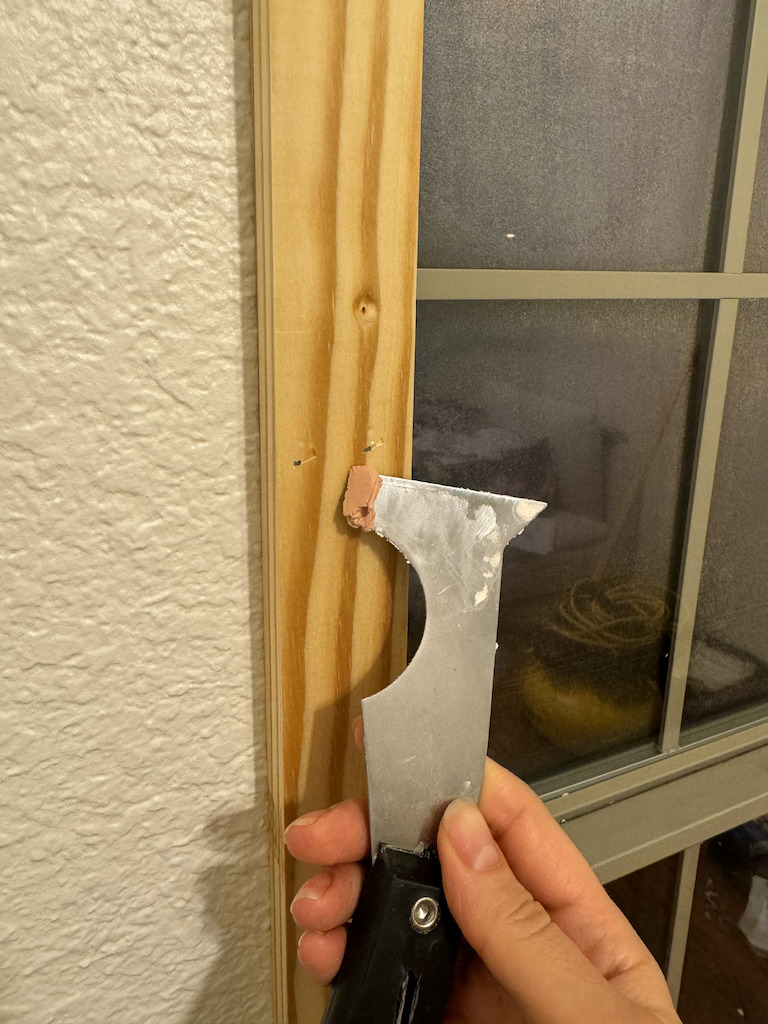
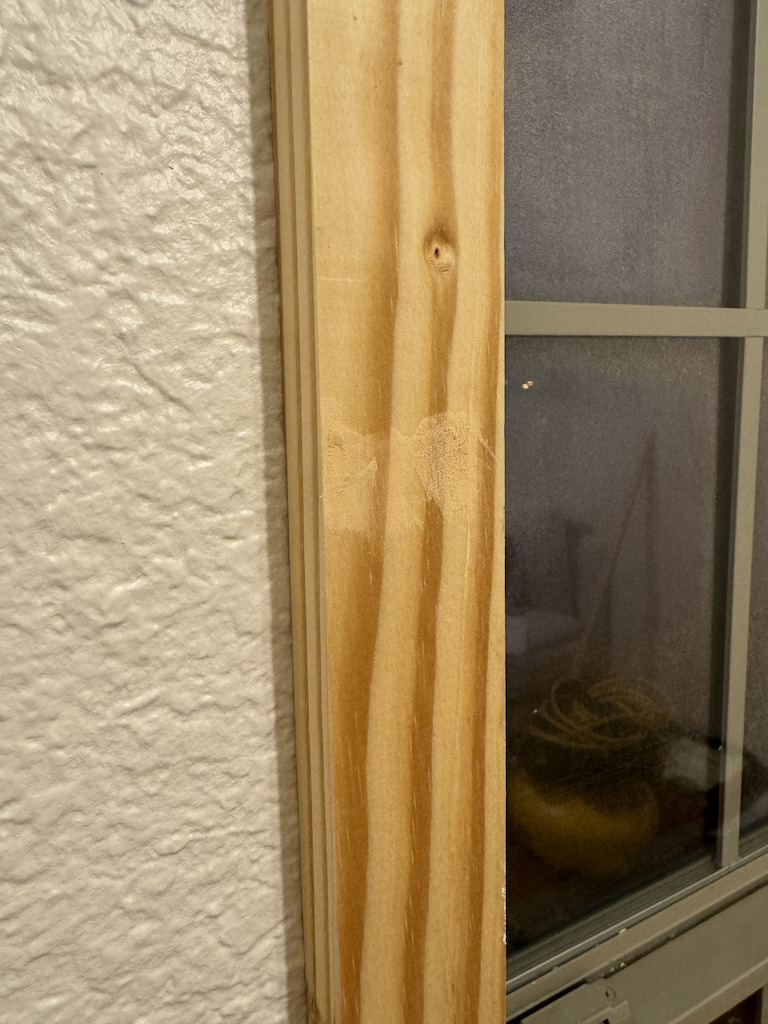
Once all the trim pieces are installed, cover nail holes with plastic wood, and when it’s dry use sandpaper to smooth out any rough edges or imperfections.
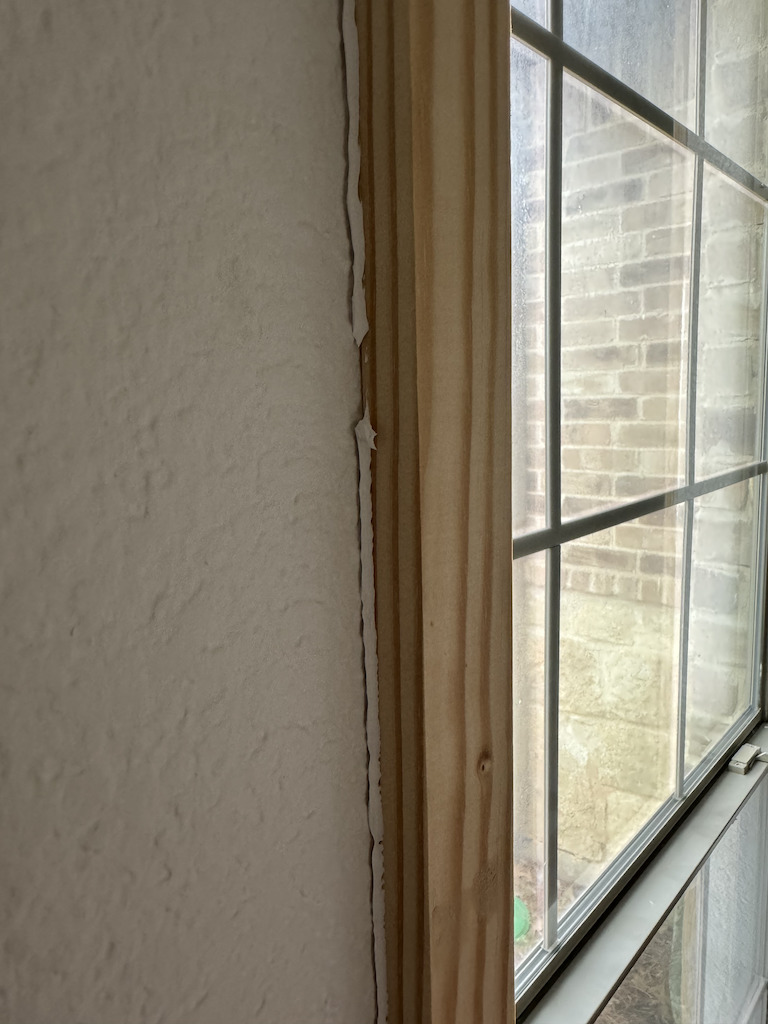
Use paintable caulk where the trim meets the wall to make the transition seamless.
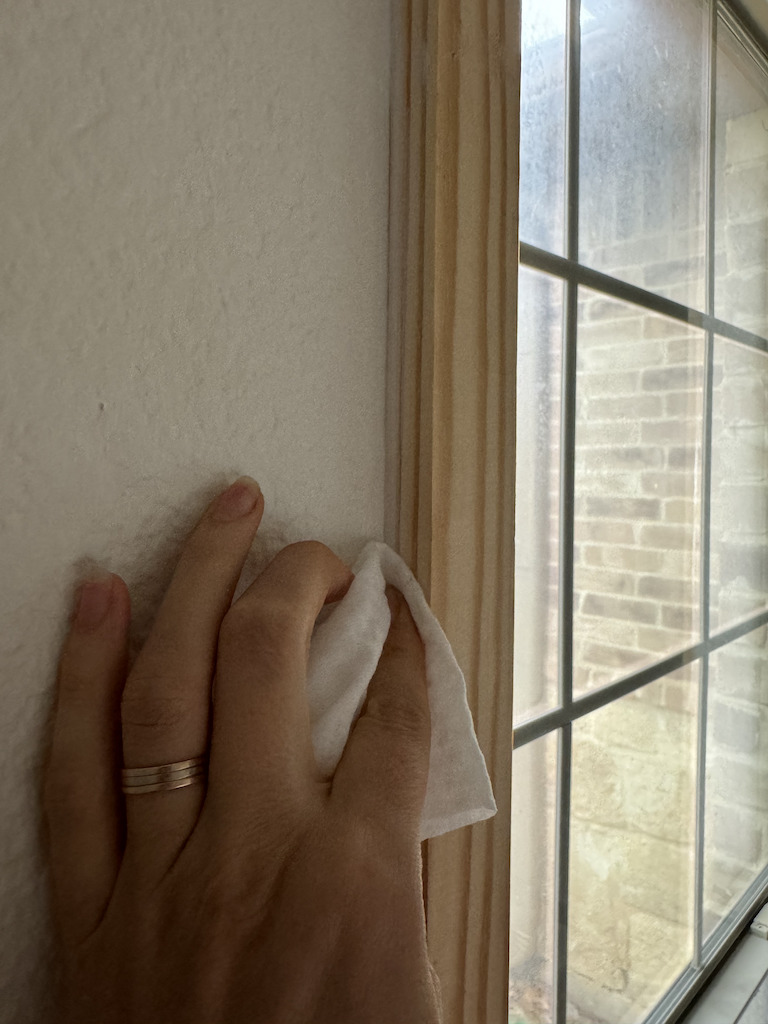
Give your brand-new trim a fresh coat of paint.
Step 7: Admire Your Hard Work
Stand back and admire the transformation!

It’s amazing how a simple DIY project can transform a space and add so much character to the room.
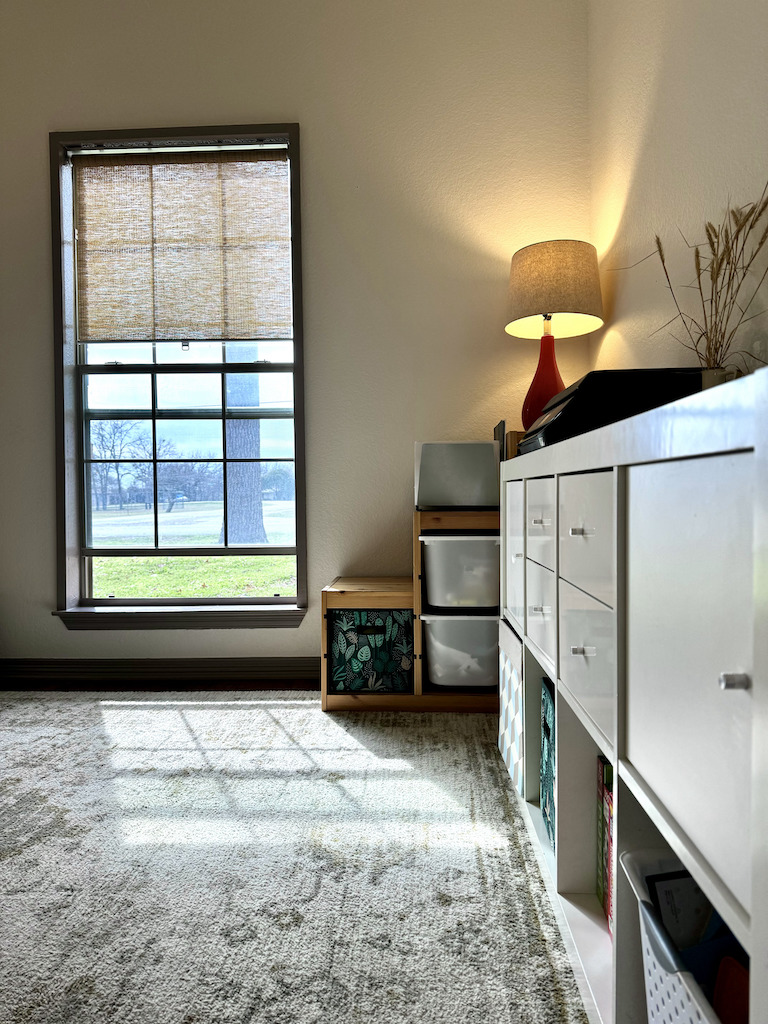
Window trim the easy way
Trimming a window can be intimidating, but it doesn’t have to be! With the right tools, a little bit of patience, and some creativity, it’s entirely achievable.
Let the sill stay in place and just work your way around the window.
By following these step-by-step instructions, you can elevate the look of your windows and add a touch of charm to any room in your home.
I hope you get inspired and be ready to tackle your next DIY makeover!
Hugs,
Hanna
*This post may contain affiliate links, meaning I get a commission if you decide to make a purchase through my links, at no cost to you.






4 comments
Wow, this post is fastidious, my younger sister is analyzing such things, thus I am going to let
know her.
Thank you for sharing! I hope she likes it!
Hey there! I’ve been reading your site for some time now and finally got the
bravery to go ahead and give you a shout out from Humble Texas!
Just wanted to tell you keep up the good job!
Mara, I’m so glad you’re here! Your comment just made my day! I hope you can find value in my posts and apply it in your own home!
I’m so happy my blog reached someone in our beautiful Texas!