I have always been fascinated with people who know how to work with wood. I remember how in school I was jealous that all the boys in our class were going to build a chair and bird house while girls were learning how to boil an egg and sew a skirt.
Woodworking dreams
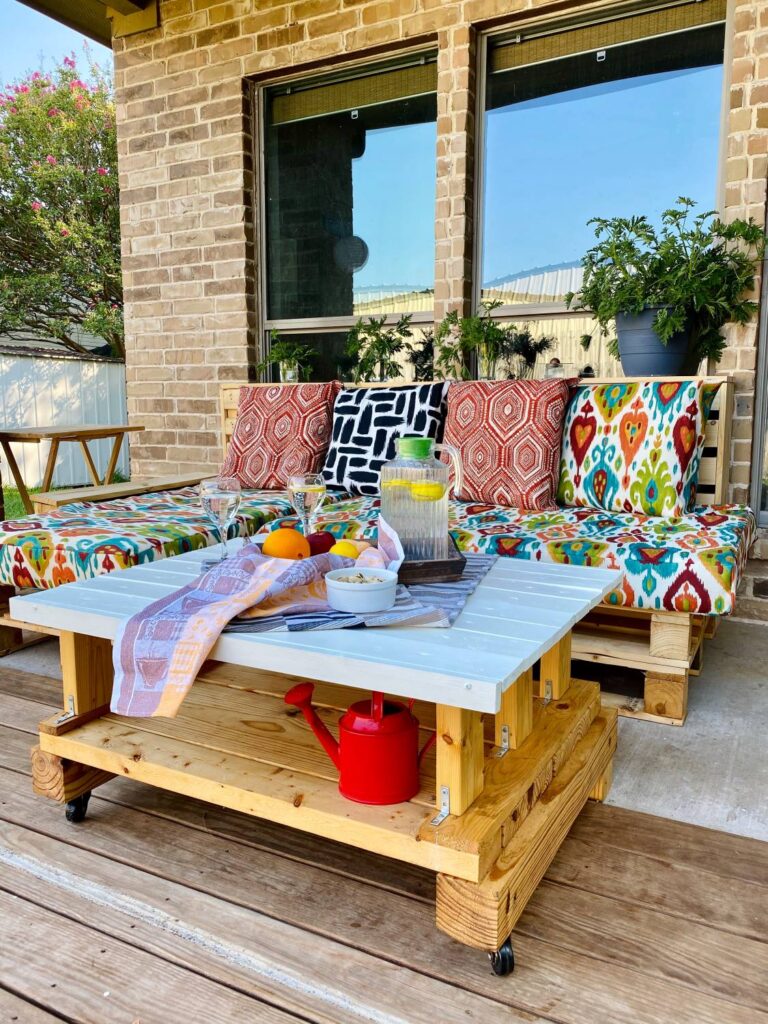
Now that I have a luxury to do whatever I want in my own backyard I’ve decided to build an outdoor coffee table.
Now, I’m not a professional furniture builder, but a DIYer with some experience. I’ve tried to build a console table before and failed miserably since it was only standing on its own by the wall.
This time I knew I had to be a little bit more attentive to all the details and sturdiness since I have a toddler who likes to climb onto things.
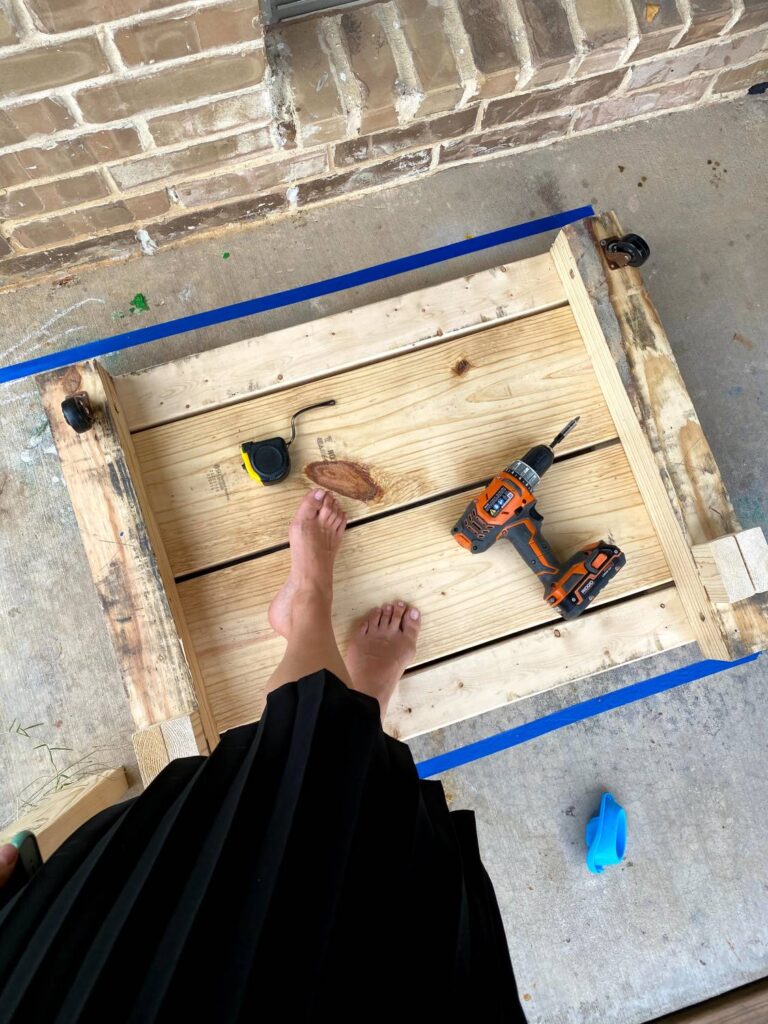
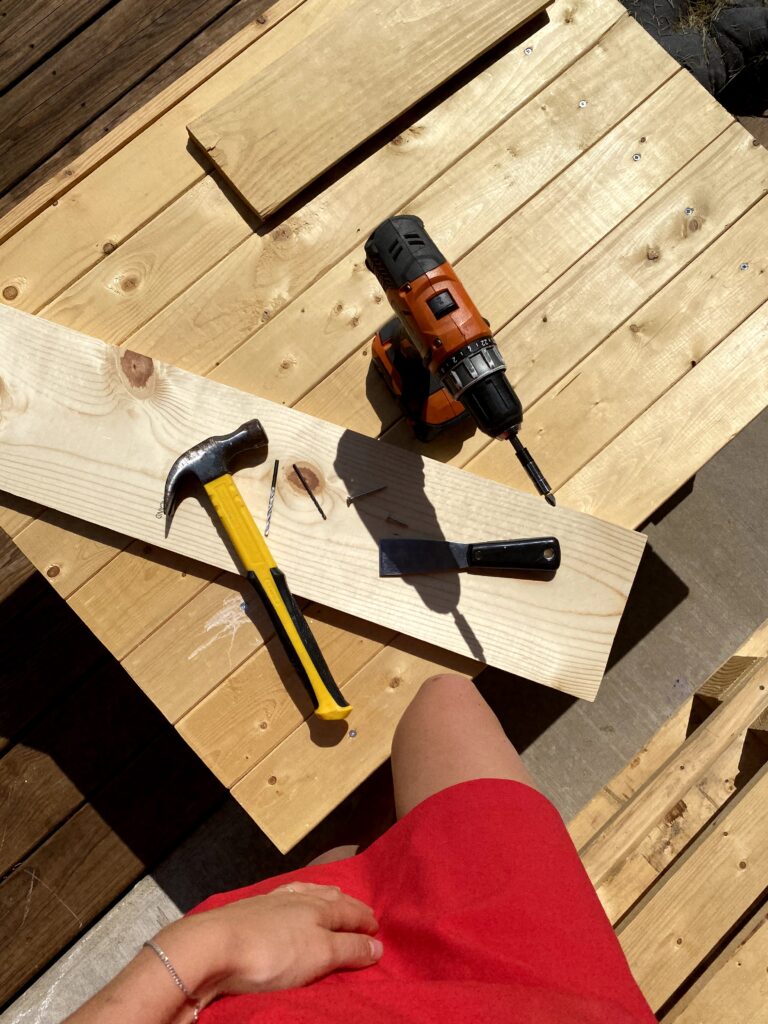
My husband got his hands on some pallets and it gave a beginning to our little outdoor furniture build. I already had some wood leftovers from my board and batten project, so I was eager to start building.
I like to move it, move it
I decided to add casters on one side of the table so I can actually move it easily when needed, and I have to admit it was a great decision. I got them from Home Depot, but I know Ikea has them too.
The build: figuring it out on the go
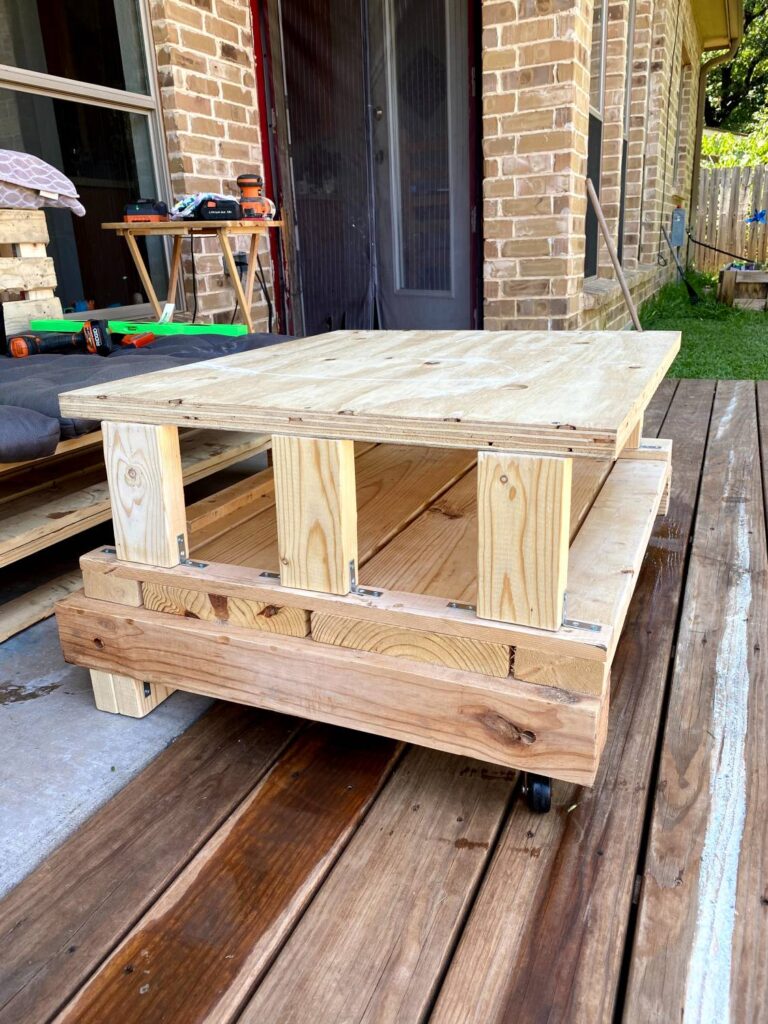
After making legs from small 2×4 pieces and adding casters it was time to move to the tabletop.
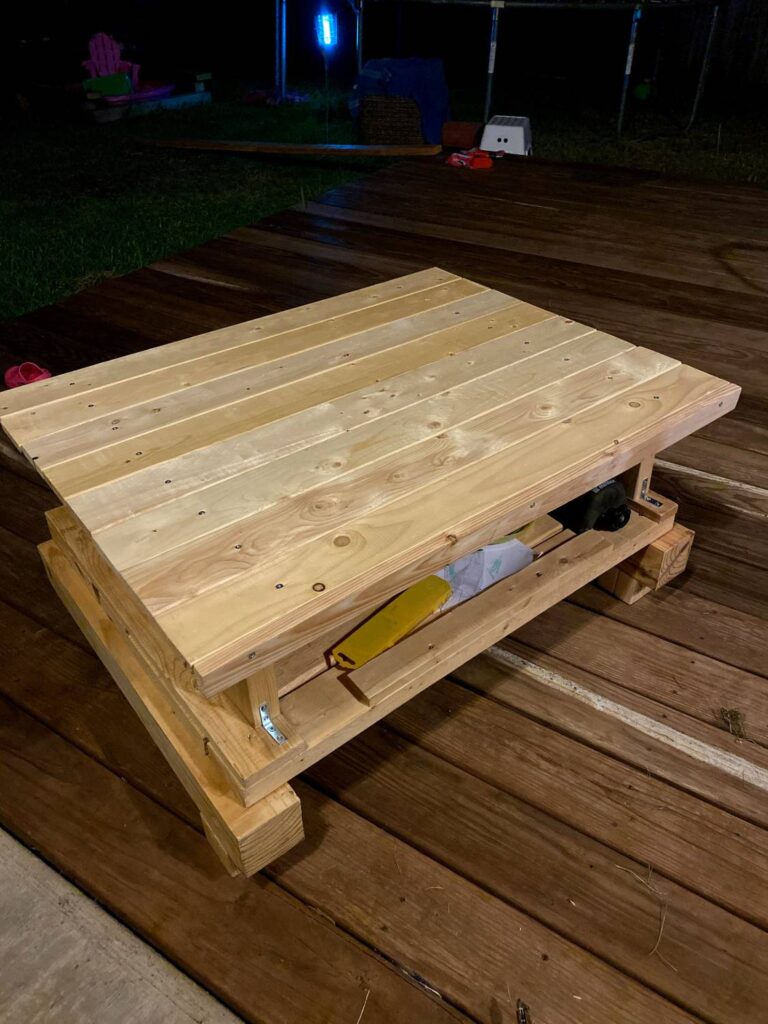
Since the pallet was too low and I needed some storage too ( toys, grill accessories, gardening tools and shoes) I needed to build the sides of the table that eventually are going to support the tabletop itself.
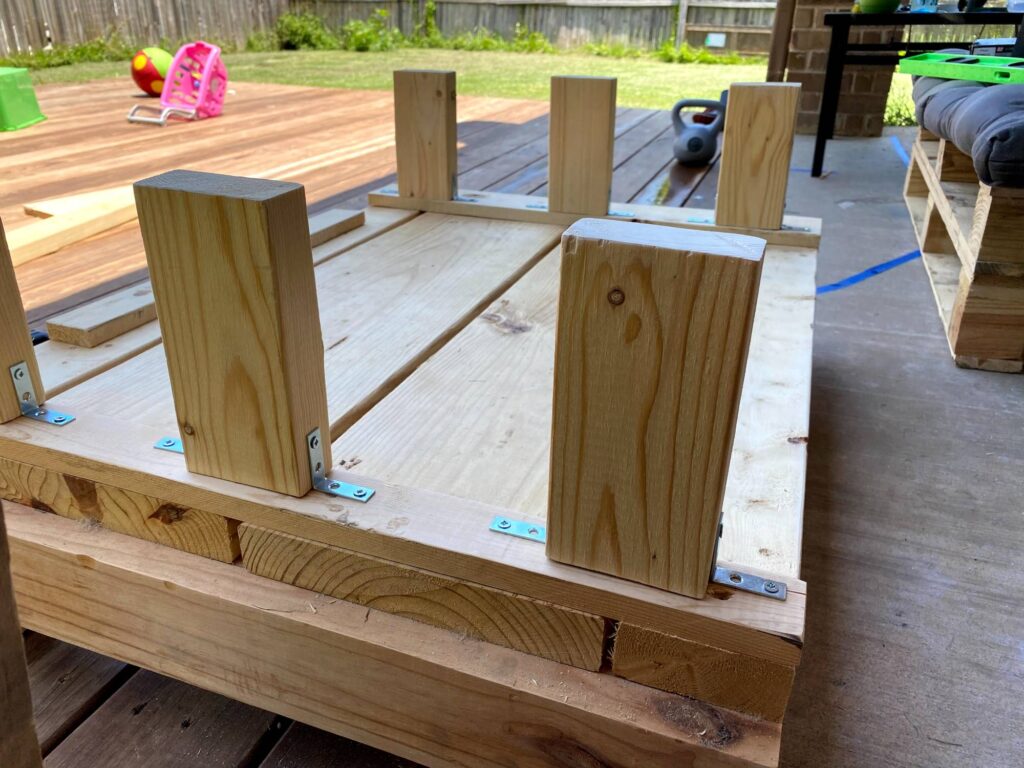
I used 6 pieces of 2×4 on each side and attached them with a 90 degree angle bracket(please use hardware that is suitable for outdoor use otherwise it will break or rust easily, I learned the hard way).
Now to the top, I mean tabletop
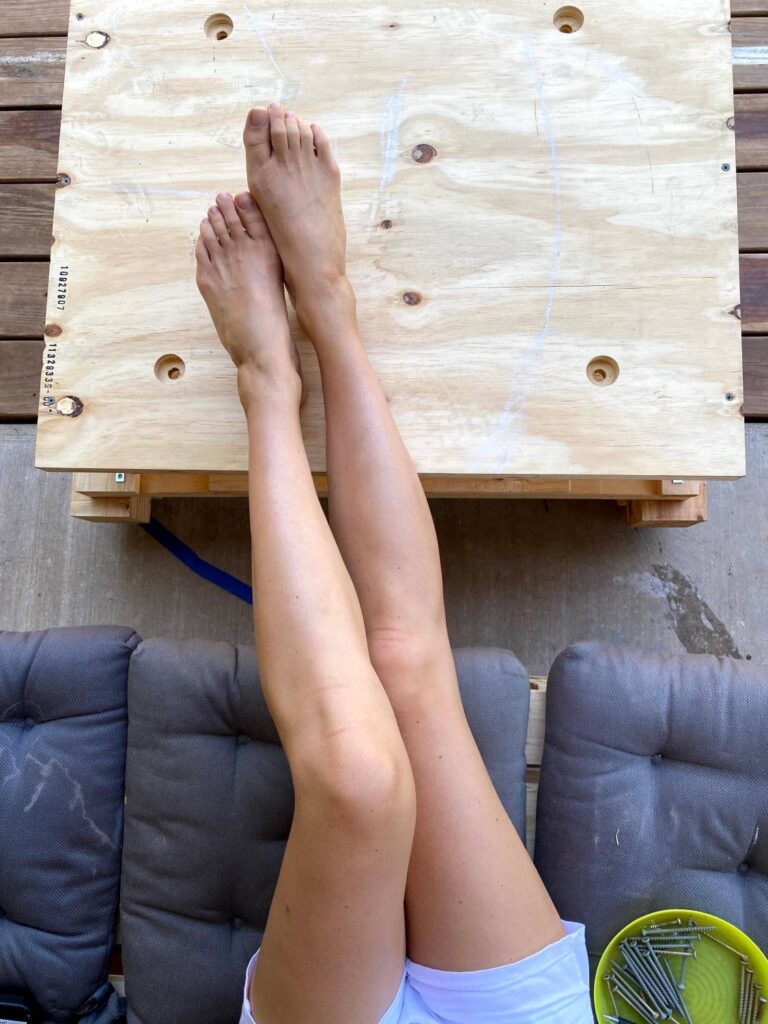
For the tabletop I had a very thick and heavy piece of plywood. On top of that I added a few 1×4. It looked pretty even without the stain or paint.
But after a few rainy days I had to redo the whole thing. Because the wood wasn’t pressure treated or sealed, it started to get moldy.
Do, fail, try again
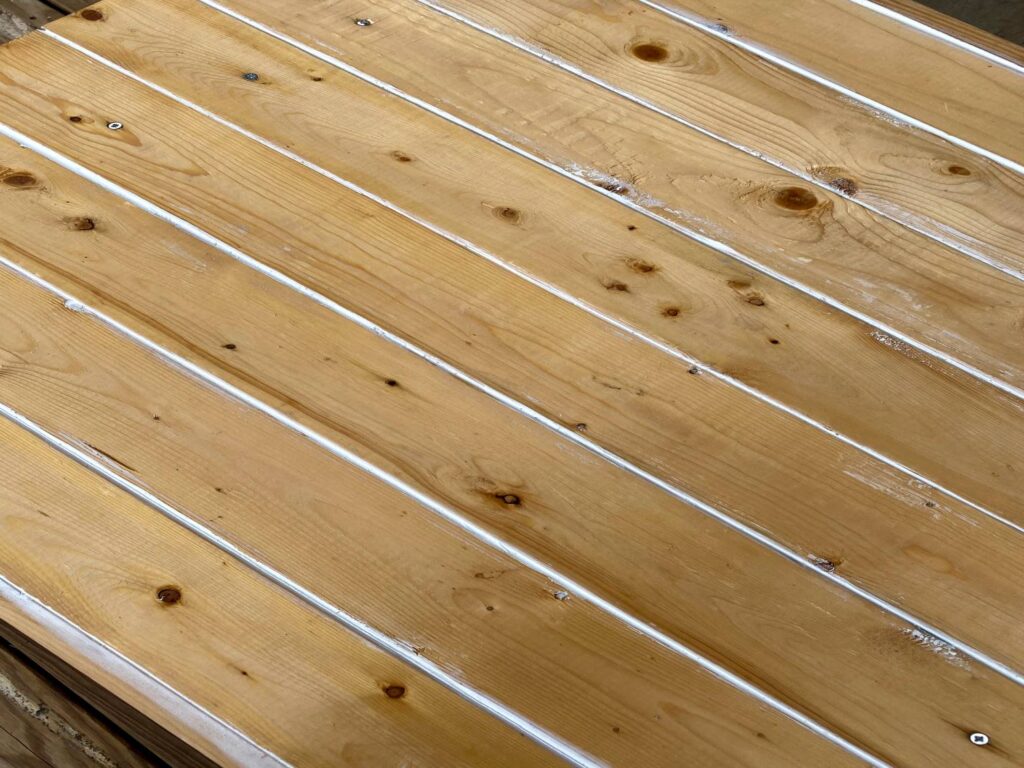
I took off all of the 1×4 and sealed the table with clear finish waterproof sealer for decks. After that I assembled the top again. This time I used a paintable caulk to cover up gaps between wood pieces.
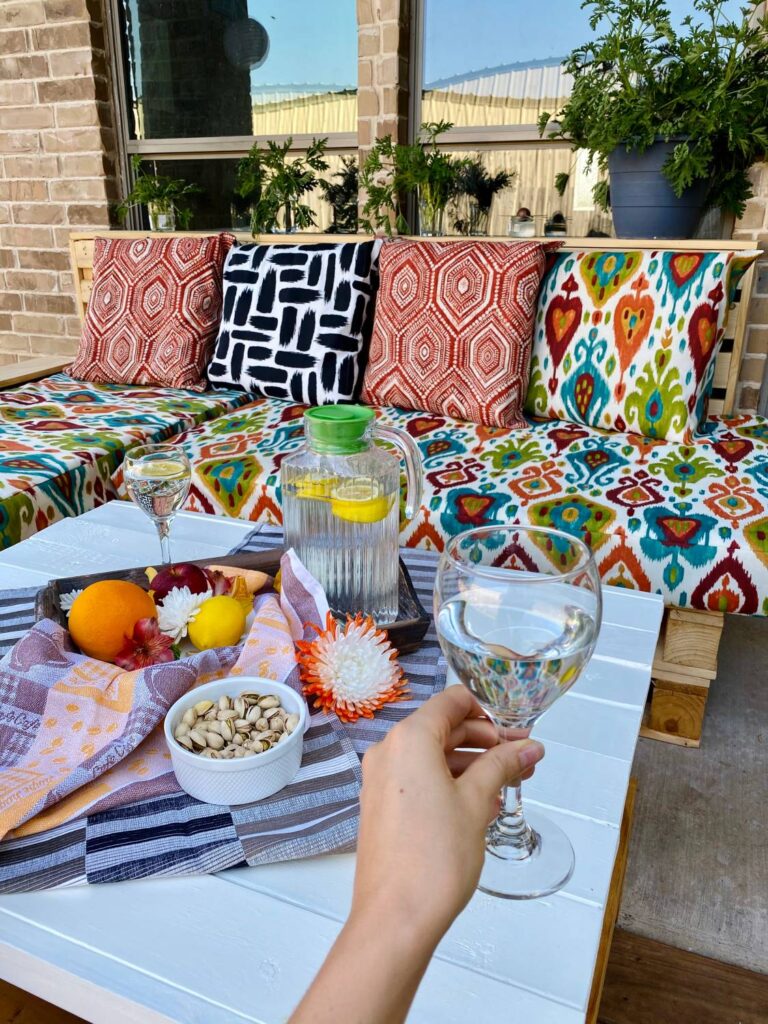
After painting the top white it was time to celebrate and finally have some dinner outside on our brand new patio furniture.
Imperfectly perfect
I’m happy how it turned out! After living with it for a few months now I see where I could have done better and maybe this table will get an upgrade next spring or fall, but for now it works well for morning coffee, afternoon tea or as an art station for our daughter.

I hope you get inspired and decide to bring your vision to life!
Please feel free to leave a comment or ask any questions you might have.
Be creative and let your days be dreamy!
Hugs,
Hanna
